
Typing text on a path is often an extremely important technique, and can be used by designers in many situations, particularly in logo design. By formatting text to follow a simple vector shape or a more intricate, unique curve, you can quickly make your work stand out.
In this tutorial, we will learn how to type text following a path or any shape you create.
Here’s a quick overview of the steps:
- Open your image in Photoshop and create a new layer.
- Use the Pen tool (P) to create a path on the new layer. This can be a straight or curved line, depending on your desired text placement.
- Once you have your path created, select the Type tool (T) and hover over the path until you see the “Type on a Path” icon appear.
- Click on the path to begin typing. You can adjust the font, size, and color of the text using the options in the toolbar at the top of the screen.
- To reposition the text on the path, select the Direct Selection tool (A) and click on the text to adjust its position. You can also use the Path Selection tool (A) to adjust the shape of the path.
- Once you are satisfied with the text placement, you can apply layer styles or use the Layer Mask to blend the text seamlessly with the image.
- Save your work and you’re done.
Let’s see each step in more detail.
Table of Contents

How to Type on a Path in Photoshop
Open or Create your Document
Of course, we will need to begin by opening a document or creating a new one.
If you want to work on a new document, simply head to File > New, along the bar at the top of the screen.
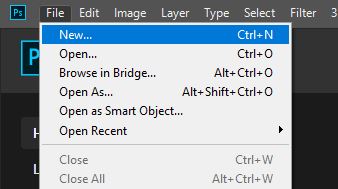
You should now have a blank document open, ready to create the path.
If, instead, you want to work on a photograph like the one used later on in this tutorial, by Markus Spiske from Pexels, then head to File > Open and select the relevant image from your files.
Use the Pen Tool to Create a New Path
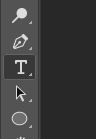
Now that we have a document to work on, let’s select the Pen Tool (P) from the toolbar down the left side of the screen.
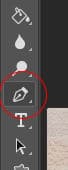
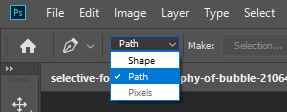
Clicking on this icon should give you access to new settings at the top of your screen.
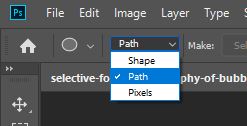
Here, you are able to decide whether the tool will be used to form a path or a shape. In this case, we will choose Path.
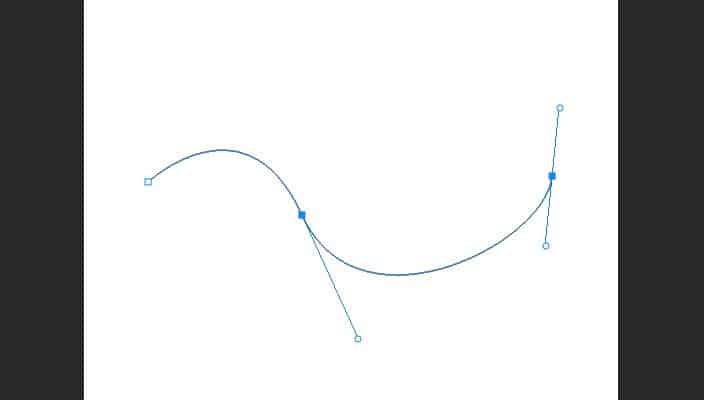
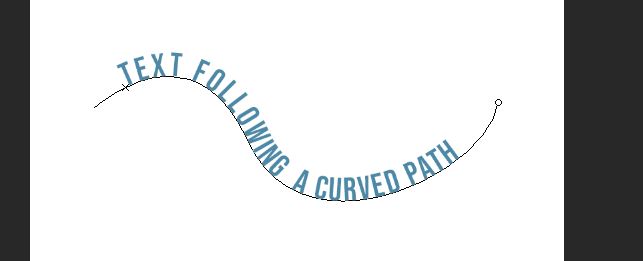
We can now use the tool to make a curved path. This will let us curve our text in the following steps.
Related Guides:
Content-Aware Path Tool
How to Create 3D text in Photoshop
Type on the Path
Once you have created a curve that you are happy with, select the Text Tool from the toolbar. Note that this tool can also be chosen by pressing T on your keyboard.
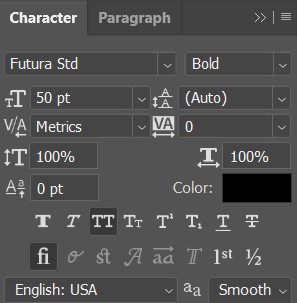
Then select the font, color and alignment, all of which affect the appearance of the text.

If you want to use special fonts, check this tutorial to learn how to add and use new fonts to Photoshop.
Whilst these settings can be altered after you have added the text, it is easier to select the properties initially.
In terms of the alignment, the text will be positioned to the left by default. If you choose a ‘left alignment’ then you will want to start typing by clicking on the left side of your path, to ensure that there is enough room for all of the text on the path.
Likewise, if your text is aligned in the centre, then it is probably best to start typing in the middle of your path, by clicking on the centre of it with the Type Tool.
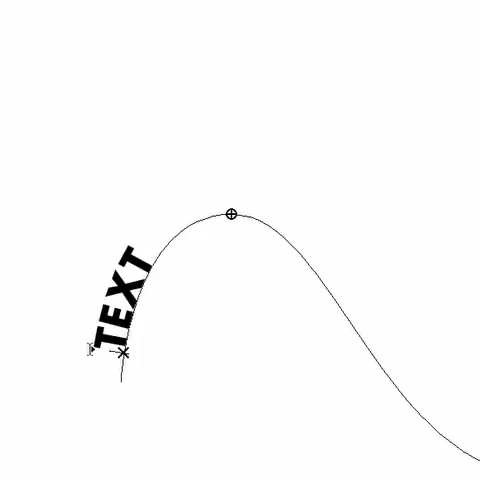
To start typing on your path, you need to move your cursor over the path while having your Type Tool in use.

When the I-beam with the curve through it appears, you can start typing, seeing that the text is following the path that you created earlier.
Once you are finished, click on the check-mark icon in the options bar to deselect the text and apply any changes that you made to the typeface.
The path should have now disappeared, and you should just be left with the text!

Edit your Text on the Curve
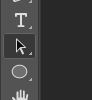
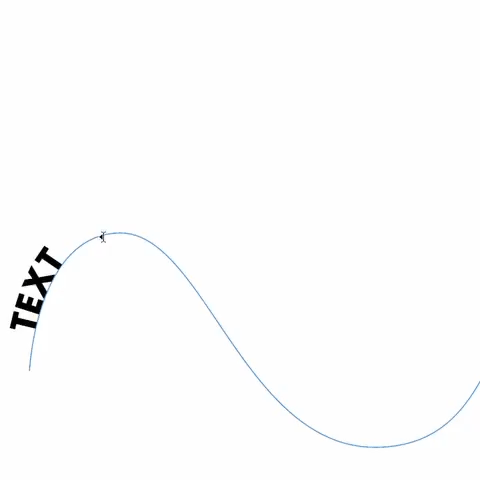
Wwe’re often not lucky enough to have the text automatically appear in the perfect position on the curve. We can solve this problem by moving it along the curve with the Path Selection Tool.
Let’s start with choosing the Path Selection Tool (displayed as a black arrow) from the toolbar down the left side of the screen. Make sure that the text layer is selected before you do this.
Next, hover the cursor over the beginning of the text. You’ll see that the cursor changes to an I-beam with a triangle next to it, indicating that the tool can be used to move the text.
You can now drag the text along the curve, to any position you want along the path.
You can also choose to put it on top of your path or under by clicking and dragging your mouse as follow:
If your text isn’t appearing completely, you need to enlarge your margins by clicking and dragging the end margin. Here’s an example:
Text on Shape in Photoshop
If you would rather have the text follow a shape that is more uniform and common, then you have the option to make text follow a vector shape that is readily available in Photoshop, such as a circle or a rectangle.
For this tutorial, we’re going to use a image by Markus Spiske from Pexels) then head to File > Open and select the relevant image from your files.
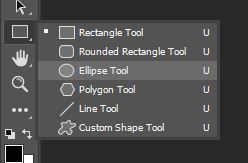
At this point, instead of using the pen tool to make a path, you’ll need to select the Shape Tool from the toolbar down the left side of the screen.

If you wish to create a rectangle or square, then just click on this icon once. If you instead want to make a different shape, such as a circle, then click on the icon twice or use right-click. Doing this will bring up a menu from which you can choose the relevant tool for the shape that you want to create.
We’re going to create a circle.
Once you have selected the correct shape tool, go to the top of the screen and make sure that you are using the tool to create a path rather than a shape.
You can do this by selecting Path from the dropdown menu to the left.
Next simply click and drag to create the shape. Hold down shift whilst doing this in order to make a regular shape (such as a perfect circle or a square).

The process of adding the text to follow the shape is just the same as the one used to make text that follows a path.
Simply hover over your circle with your Type Tool selected.

Of course, as a regular Text Layer, you can edit the Character and Paragraph Settings to your liking.
Bonus Video
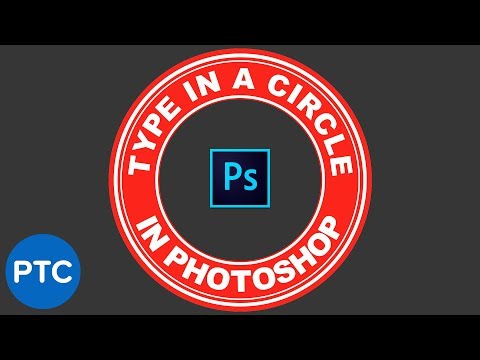
If you want to find out more about the topics discussed in this tutorial, then check out this video by Photoshop Training Channel, explaining how to type in a circle in Photoshop.
It’s extremely useful for those wanting to take typing on a circular path to a slightly more advanced level.
Hey, I'm a Professional Retoucher making $10k a month thanks to Photoshop.Register to my newsletter to get freelancing tips and a FREE Brush Pack in Bonus! My Newsletter

