
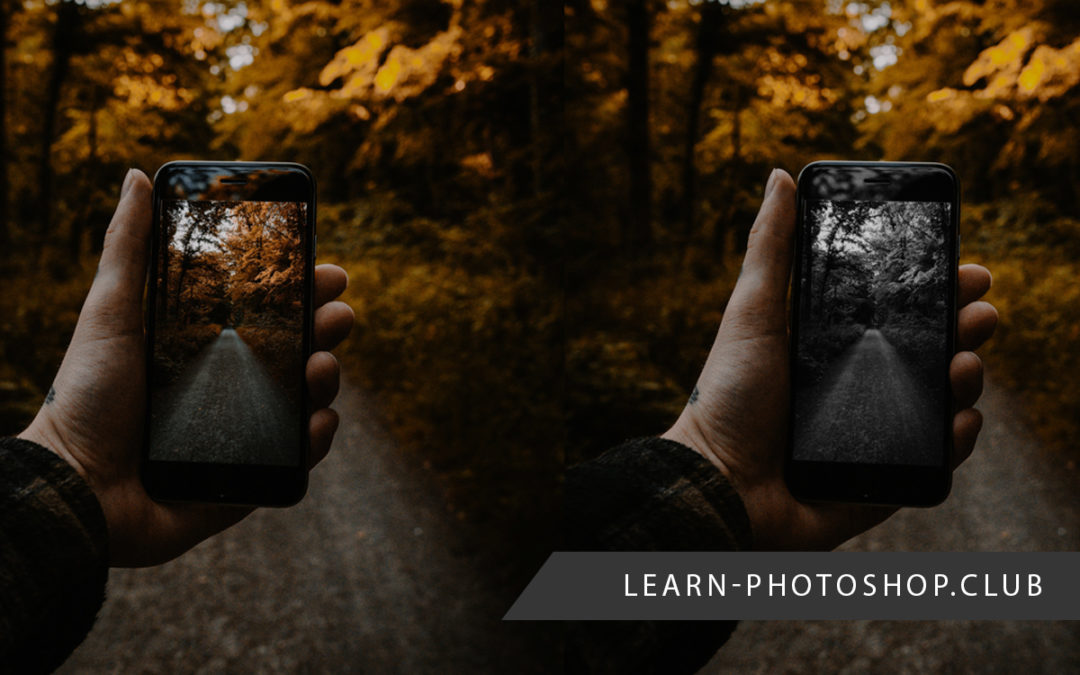
Making your images grayscale can be a great way of giving them a new element of life, allowing you to communicate different atmospheres through your photography.
It’s pretty simple to make an entire image grayscale in Photoshop. But, what about those situations when you only want to edit the colors in one part of a document, such as a single layer? In such cases, it can be less obvious to know what to do.
But luckily, there are a few different ways in which you can make just a single layer grayscale using Photoshop. Whether through selecting Image > Adjustments > Desaturate, using an adjustment layer in combination with a clipping mask, or adding a gray color overlay in the Layer Styles Window, you can achieve an effect where one layer is desaturated whilst the rest remain fully colored.
We’ll cover the following methods in this article:
So, let’s get started! All the methods are very quick and simple, so you’ll be all set to create a masterpiece in minutes!
You will want to start each method with a multi-layer file opened in Photoshop. To open your pre-made file, head to File > Open at the top of the screen and select the relevant document to open it.
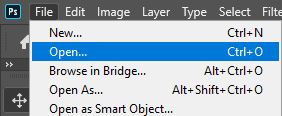
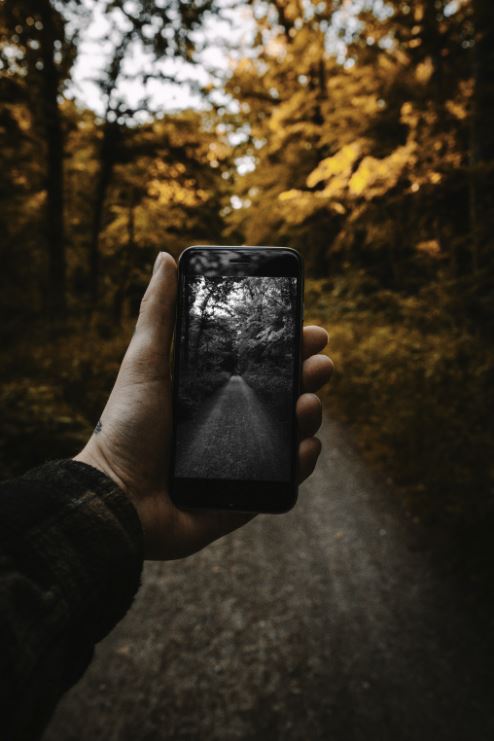
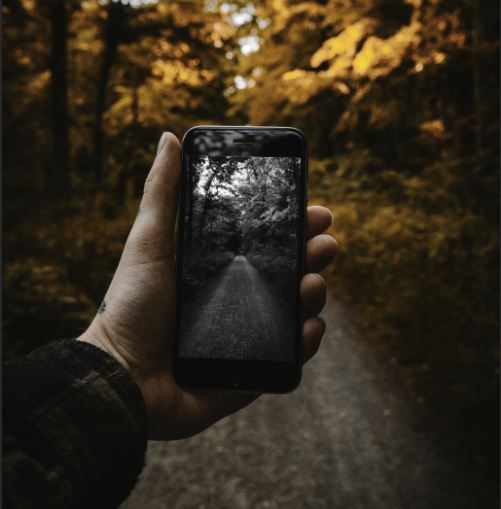
We’re using an image by Sony Dude from Pexels.
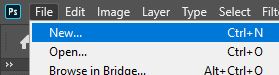
If you haven’t yet created a file, then you can make a new document by selecting File > New from the bar along the top of the screen.
Within this document, you have the liberty to make any edits you want! For some ideas of what you can do in Photoshop, take a look at our complete beginner’s guide, which covers pretty much everything you need to know about how to use the program.
Now that you have a multi-layer document ready to edit, let’s jump right in!
1: Make a Direct Adjustment to the Layer
We’re going to begin by discussing the easiest and quickest technique you can use to make a single layer grayscale in Photoshop.
It’s important to note that whilst this technique may be the simplest, it does have limitations. The main problem with this method is that it is a destructive way of working.
This means that once you have made the edit to the layer, you can’t easily go back and undo or change it later on down the line. In other words, it makes a more permanent edit, and directly adjusts each pixel within a layer.
However, when working in Photoshop, in most cases we want to be working in a non-destructive manner. Essentially, we want to always be aiming to make temporary changes to our images which can be easily undone or changed later on. The other methods we will explore in this article are non-destructive techniques.
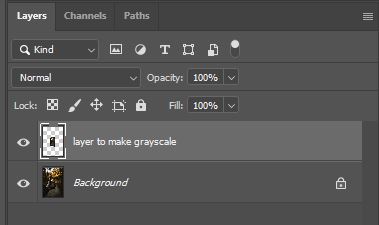
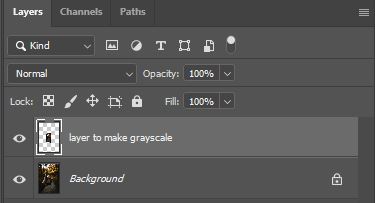
But, if you’re just looking for simplicity and a quick edit, then you might want to opt to use this first technique. To do so, first ensure that the layer you want to make grayscale is selected by clicking on it in the Layers Window to ensure that it is highlighted.
Then, head along the top of the screen and click on Image > Adjustments > Desaturate.
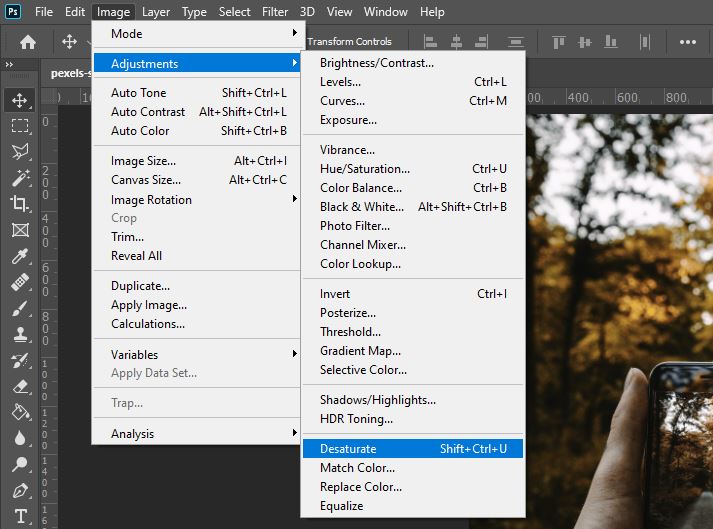
And that’s it! You should notice that the layer you made active has now been desaturated (in other words, stripped of its color) and made grayscale, whilst the other layers all remain in full color!
In our case, we made the phone screen grayscale and left the background in full color.
2: Use an Adjustment Layer in Combination with a Clipping Mask
So, how can you make a layer grayscale in a non-destructive manner? Well, the quickest technique to use is to create an adjustment layer, then add a clipping mask to it in order to make it only apply to a single layer.
To begin, head over to the Layers Window and make sure that the layer you want to make grayscale is active (indicated by it being highlighted). To do this, simply click on it to highlight it.
Then, click on the New Adjustment Layer icon resembling a half-filled circle, situated at the bottom of the Layers Window.
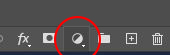
Doing so will cause a fly-out menu to appear, from which you should select Hue/Saturation.
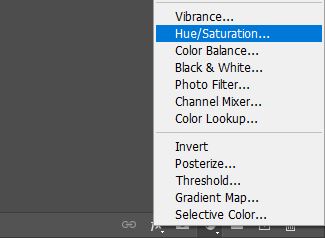
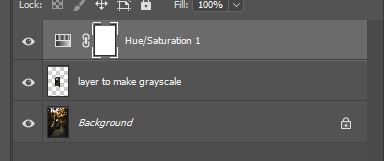
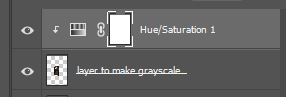
This will tell Photoshop to create a new adjustment layer, which will automatically be placed above the current layer, that lets you adjust the hue and saturation of the colors within the layers beneath it.
In the new Properties Window, which appears as a result of creating the adjustment layer, click and drag the Saturation slider all the way to the left of the line to entirely desaturate the document, removing all the colors from the image.
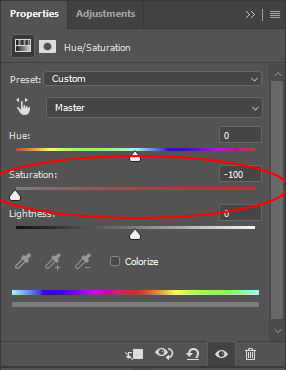
Initially, you’ll see that this makes the entire document grayscale, which isn’t what we want. Luckily, there’s a quick fix to this: adding a clipping mask.
Adding a clipping mask to an adjustment layer will cause it to only affect the layer directly beneath it. So, make sure that the adjustment layer is located directly above the layer you want to make grayscale in the Layers Window. If it isn’t then simply click and drag it to a new position.
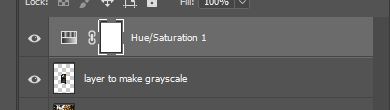
Next, right click on the adjustment layer in the Layers Window and click on Create Clipping Mask from the list that comes up as a result.
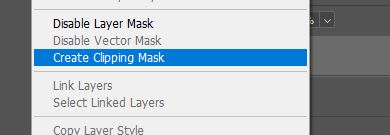
And straight away, you’ll notice that the grayscale adjustment only applies to the layer directly beneath the adjustment layer! Pretty awesome, isn’t it?
3: Add a Color Overlay in the Layer Style Window
This final method is a bit more complex and long-winded, but it’s useful to know and helpful in understanding other Photoshop techniques.
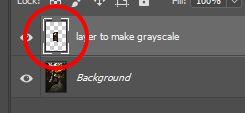
To begin, double-click on the thumbnail of the layer you want to make grayscale in the Layers Window to open the Layer Style box.
In the new window that opens up, you can add a whole variety of layer effects, such as glows, shadows and more. For this method, we’re going to add a color overlay to our layer.
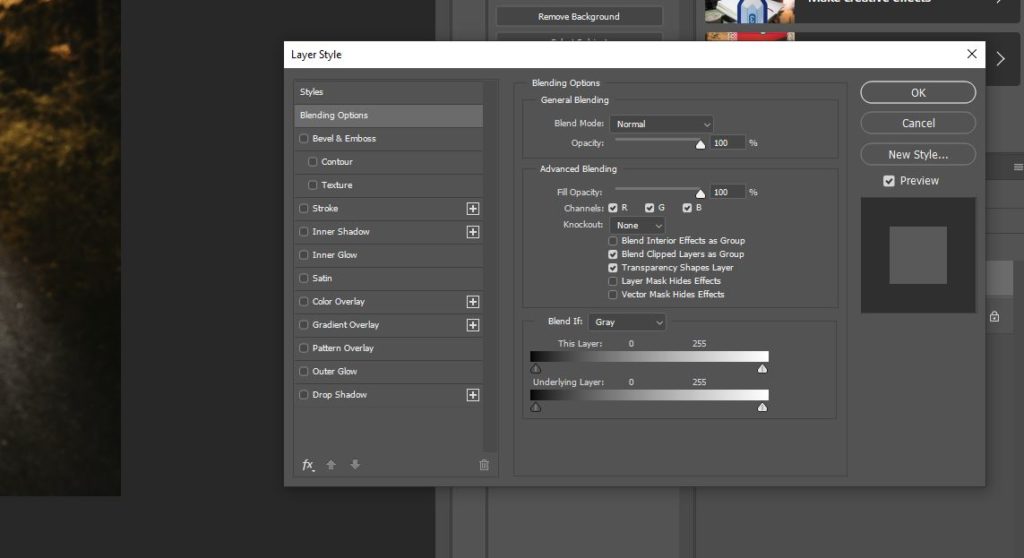
So, let’s click on the Color Overlay heading from the list down the left side of the dialog box.

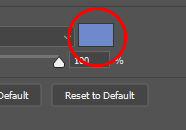
Within the new section that appears, click on the colored box to bring up the Color Picker Window.
Here, we’re going to select a gray color which will act as the overlay on our layer. To do so, set the H (Hue) value to 0, the S (Saturation) value to 0, and the B (Brightness) value to 50.
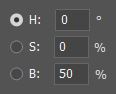
Once you’ve done that, click OK to confirm the color selection.

Then once you’re back in the Layer Style Window, set the Blend Mode to Saturation by clicking on its title in the dropdown menu.
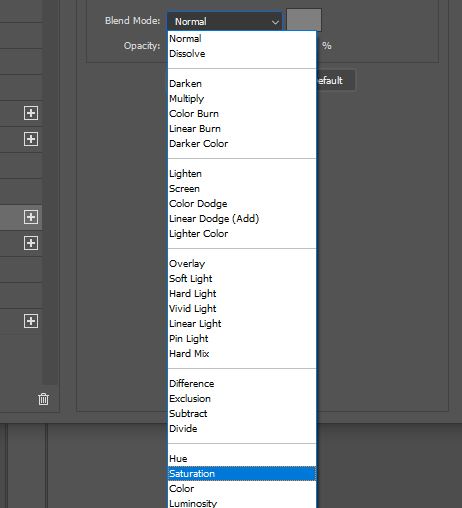
This will apply a grayscale effect to the layer! However, to make sure that you will not come across any issues later on should you have to change the blend mode of the whole layer, we’re going to just quickly adjust one more thing.
Select the Blending Options heading from the top of the list down the left of the Layer Style Window.
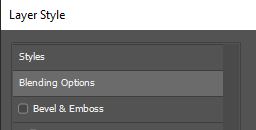
Within this section, tick the box entitled Blend Interior Effects as Group.

Once you’ve done that, click on the OK button to apply the layer effects. And you should hopefully notice that the layer has been converted to grayscale, whilst the other layers remain in full color!

Although this method was more long-winded and perhaps less intuitive, it will have yielded great results in a non-destructive way, meaning that the extent of and appearance of the effect can be changed at any time!
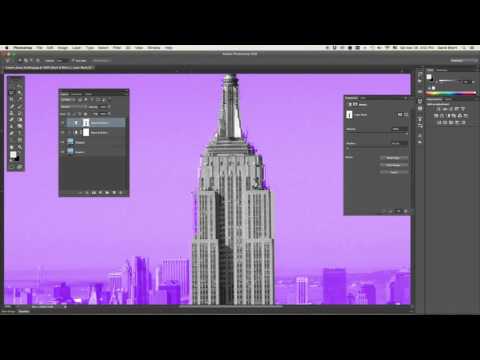
Want to learn more about how to make a single layer grayscale in Photoshop? Then check out this video by David Short, which provides a visual demonstration of the processes involved.
Hey, I'm a Professional Retoucher making $10k a month thanks to Photoshop.Register to my newsletter to get freelancing tips and a FREE Brush Pack in Bonus! My Newsletter

