

For photographers, digital artists, and designers, getting the colors to look right in an image can be really tricky. Color is one of the most important elements of visual communication, and the use it can make or break an image.
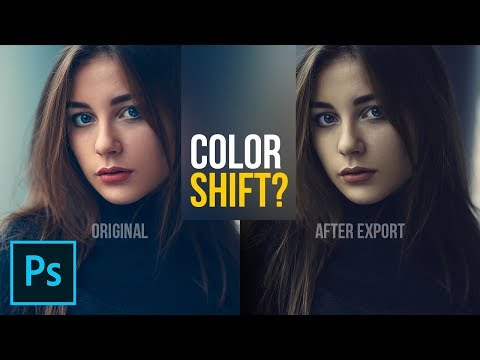
So, it can be incredibly frustrating when the colors look different in the PSD you’ve been working on in Photoshop and the JPEG that you export at the end of the process. The problem is often associated with the saturation, or even the hue, of the colors.
But luckily, there are a few different solutions you can try. The issue often occurs due to your document’s color space compared to the mode of the saved image, so most of the solutions involve converting the color profile of the document. Here is an overview of what we will cover:
Table of Contents
For this tutorial, we will be using a photo by Laura Stanley from Pexels.
Why does Photoshop change the colors?
If there is any issue with the colors in your document that affects all the pixels rather than just the ones in a certain area or of a certain color, it is almost always a result of a problem with the color profile of your document. In this case, the issue has likely arisen due to a difference between the color mode of the Photoshop document and that of the JPEG image.
The monitor (in other words, the display screen) of your computer operates through a type of RGB color profile called sRGB. Therefore, if you are editing images that will be displayed on a desktop monitor or a website intended to be viewed on a computer monitor, we recommend that you use the sRGB profile. Choosing this color profile often solves the issue.
What are Color Profiles?
Before we go any further and start exploring potential solutions to the issue, let’s first establish what a color profile is. Color profiles, also known as color formats or color modes, are essentially data sets that exist to manage the colors on a device or in a document. They are a way of standardizing colors for all users and viewers. Color profiles are the numerical values that exist within a color space.
The two most common color profiles are RGB and CMYK. RGB stands for the primary colors- red, white, and blue. As the base colors of light, these are used in monitors, television screens, and other digital displays such as cameras. CMYK refers to the primary pigment colors: cyan, magenta, yellow, and black. These colors are used to print images as they are the colors used in printer ink.
For those reasons, CMYK is the profile that should be used when creating documents that will end up being printed in some way, such as business cards, merchandise, or flyers. RGB and sRGB should be used when creating documents with an on-screen final destination. Using the sRGB format gives more reliable results and brighter colors, and the colors produced tend to be standardized more carefully across documents.
How do you fix color changes in Photoshop?
Now that we have discussed the common cause of the problem and established what color profiles are, we can jump right into exploring some ways of potentially solving the issue!
1: Head to Edit > Convert to Profile to Change the Color Profile
As we mentioned previously, the most likely cause of the issue is that you are working in the wrong color profile in Photoshop. To standardize the colors of the file across on-screen destinations, we can change the Photoshop document’s color profile to sRGB.
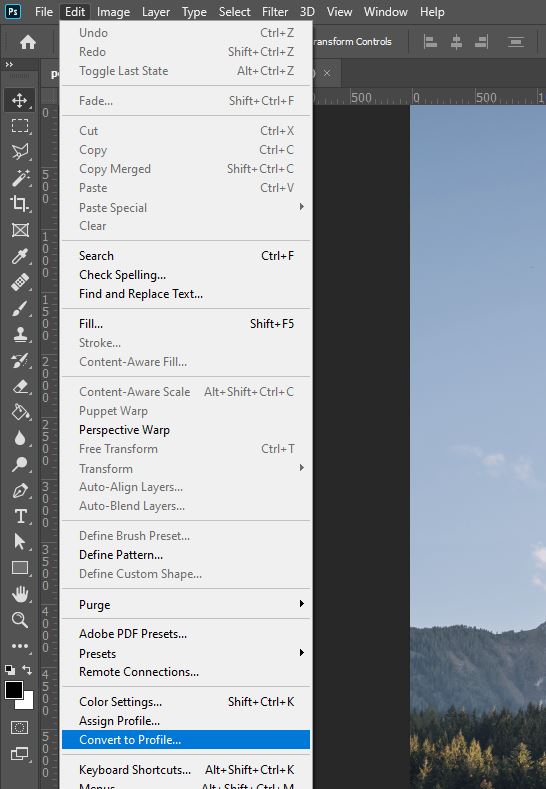
The easiest way to do this is to first head to Edit > Convert to Profile.
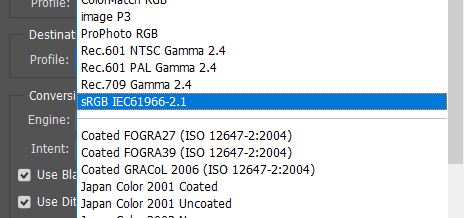
In the window that opens up, change the color mode to sRGB. This will particularly yield a significant improvement if you were previously working with the CMYK profile.
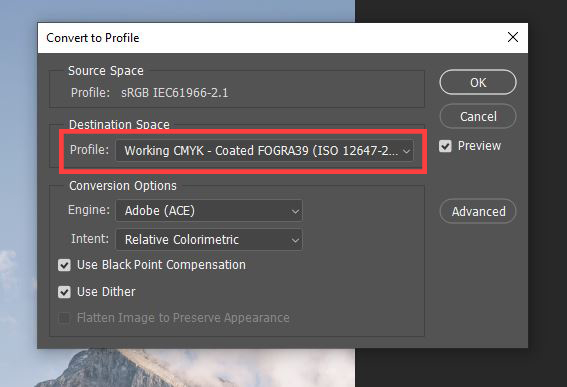
Then, simply click OK to confirm the changes and close the window.

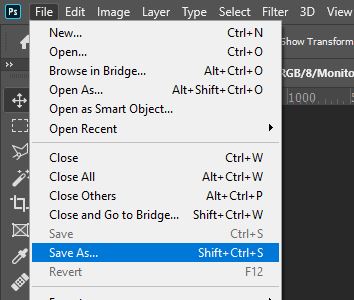
After changing the color profile, you can try saving the file as a JPEG again, by selecting File > Save As from the bar at the top of the screen. Then, check whether or not there has been any improvement to the colors. If there is not, then don’t worry! We have plenty of other techniques to try.
2: Go to View > Proof Setup and Ensure that Monitor RGB is Selected
The next solution we will walk you through also involves changing the color profile of the document. Begin by selecting View > Proof Setup from the top of the screen.

In the flyout menu that appears, make sure that Monitor RGB is selected.
Again, try saving the document, then check the exported image to see if the colors have changed at all. If there was no improvement, then keep trying the following methods.
3: Tick Embed Color Profile in the Save As Window
Next, let’s try to solve the color issue by playing around with some settings that appear upon saving the document as a JPEG. To begin, go to start saving the document by selecting File > Save As.
Within the window that opens, choose a name and location for your new file, select JPEG from the dropdown menu entitled Save As Type at the bottom of the box.

Beneath this dropdown menu, you should see a section entitled Color. Here, ensure that ICC Profile is checked by clicking on the checkbox next to the title.

Hit Save once you are happy with the settings.
Once you’re done, open the saved JPEG in any photo viewer to see whether this method had any effect on the colors of the image. If it had no impact, then we have one more technique you can try.
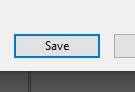
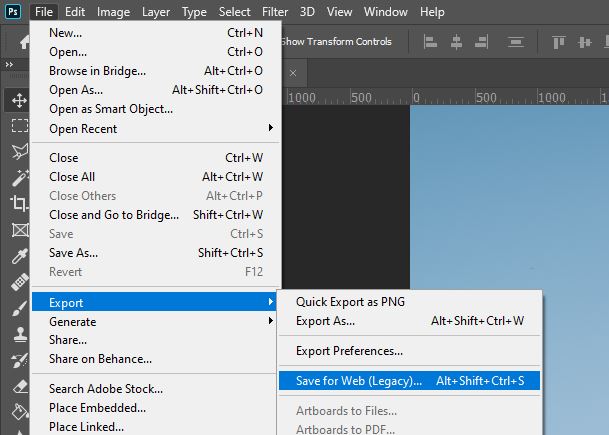
4: Export Via Save For Web Rather Than Save As
The final solution involves changing the method by which you save the JPEG version of the file. Rather than saving the document through the Save As command, choose File > Export > Save For Web.
Within this window, make sure that the options entitled Embed Color Profile and Convert to sRGB are selected, indicated by their checkboxes containing a tick.
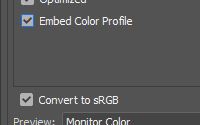
When you are satisfied with all the settings in the window, go ahead and click Save.

Once again, open the saved JPEG in any photo-viewing application to check for any changes in the colors of the document.
5: Compensate for the Changes by Adjusting the Colors Manually
Hopefully, one of the methods we discussed was successful in solving your issue! If none of them worked, then you may have to get around the problem by compensating for the color changes in the Photoshop document before exporting it as an image.
For instance, if you know that exporting it causes an increase in saturation, then combat the change by under-saturating the Photoshop document so that the saturation increases to the right level in the exported image.
Similarly, if the exported image appears less saturated than it did in Photoshop, head back into the PSD and overly-increase the saturation before saving it again to compensate for the JPEG changes.
We hope that one of these techniques managed to solve the problem and that you can get back to working uninterrupted on your designs as soon as possible! Want to see a video explaining some potential solutions to the issue? Then check out this awesome video by PiXimperfect which provides a great explanation of how to avoid it.
VIDEO TUTORIAL
Hey, I'm a Professional Retoucher making $10k a month thanks to Photoshop.Register to my newsletter to get freelancing tips and a FREE Brush Pack in Bonus! My Newsletter

