For photographers, sharpening images is an all too common task that can often be difficult and time-consuming. Luckily, Photoshop’s High Pass Filter is a lot easier to get the hang of than the commonly used Unsharp Mask or the Smart Sharpen feature.
This tutorial will talk you through how you can use the High Pass Filter to non-destructively sharpen an image and will help you to find the best settings to use to optimise the effect.
But before we begin, you may be wondering how image sharpening actually works. Well, it’s pretty much an illusion. Sharpening increases the contrast along any edges (where there is a drastic change in the brightness of neighboring pixels) within a photo, making the light side lighter and the dark side darker.
So, what makes the High Pass Filter suitable for sharpening images is its function as an edge-detection filter that highlights only the edges.
Now that we have gained more of an understanding of what’s really going on behind the process, we can make a start! Of course, this process will produce awesome results no matter what device you’re using, but if you want to start working really professionally, then check out this article, in which we discuss what qualities make a computer good for photo-editing, and let you know which ones are the most effective.
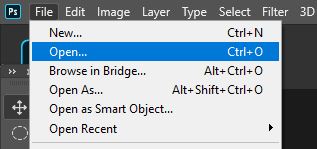
1: Go to File > Open to Open Your Image, Then Right Click on the Layer and Choose Convert to Smart Object
As always, we’ll begin by selecting File > Open to open the image that we want to sharpen. Choose the respective photo from your files, then click OK. For this tutorial, we’re going to use a beautiful cityscape by Zichuan Han from Pexels.
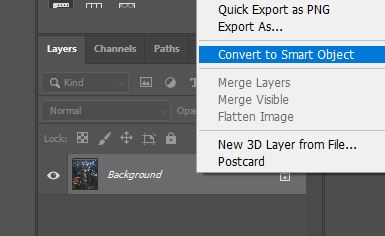
With the image open, head to the Layers Window, and right click on the layer. From the list that comes up, select ‘Convert to Smart Object’.
You should be able to tell that it’s now been converted, as there will be an icon at the bottom right of the layer’s thumbnail, indicating that it is a Smart Object.
By changing the image layer to be a Smart Object, we enable ourselves to later apply the High Pass Filter as a non-destructive Smart Filter.
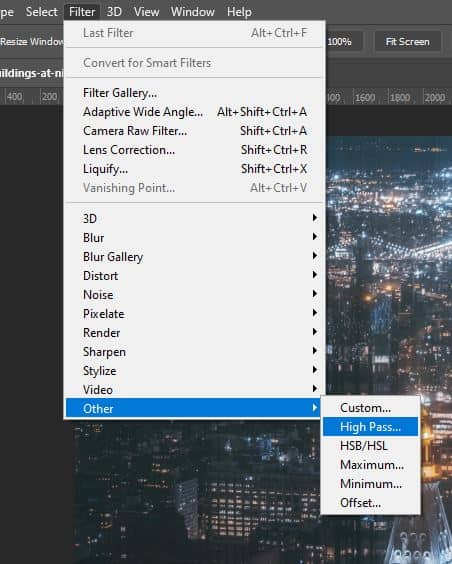
2: Select the High Pass Filter by Choosing Filter > Other > High Pass
Now that the photo is set up as a Smart Object, we can go ahead and apply the High Pass Filter. To do this, select from the menu along the top of the screen: Filter > Other > High Pass.
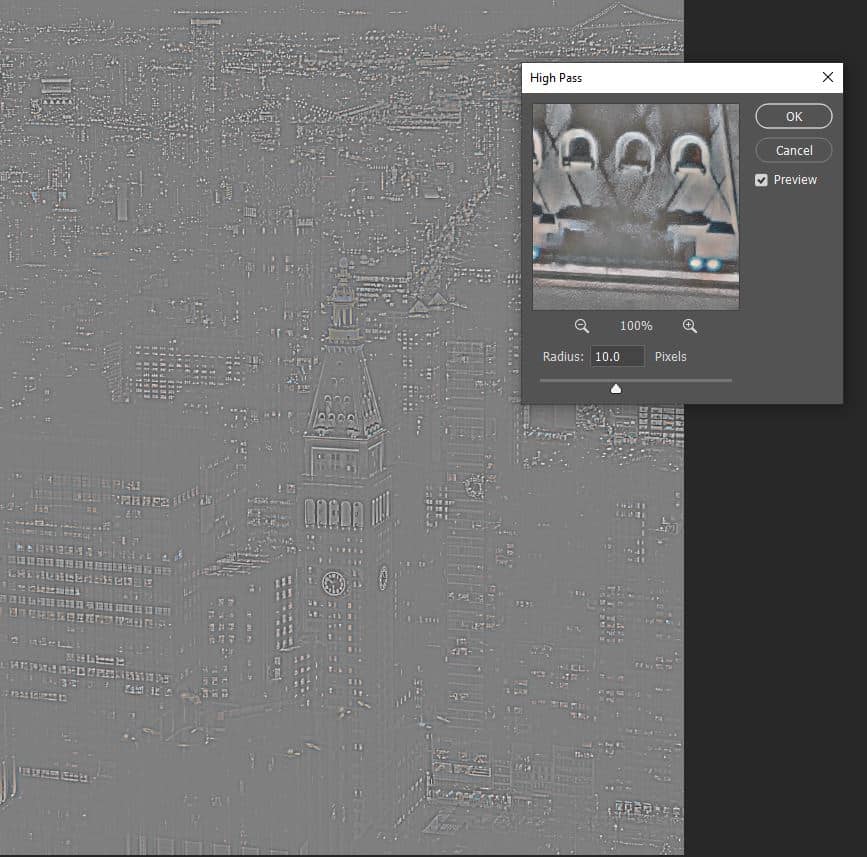
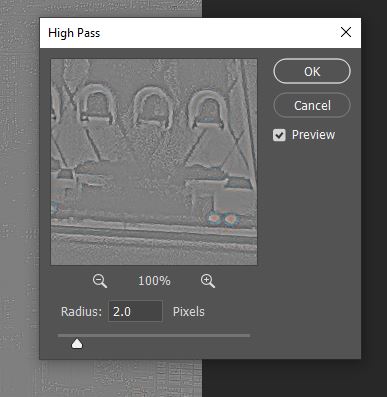
Upon applying the filter, a dialog box will open, in which you’ll see that the image has been filled with a plain gray with some defined, darker edges.
The way the filter works is that it fills the entire canvas with gray, then highlights the edges by making the light side of the edge lighter and the dark side darker- just like how sharpening works. Any areas that aren’t edges just stay mid-gray.
3: Highlight the Edges Subtly by Adjusting the Radius Value Until There’s a Thin but Visible Highlight Around the Edges
In the dialog box for the High Pass Filter, you’ll see that there’s a setting in which you can set the value for the Radius of the effect. This affects the width of the highlighting of the edges. In this case, we’ll want to keep it to a minimum, as we don’t want the effect to be too obvious.
A value between 1 and 7 usually works well, but it will vary depending on the size of your image, so just do what looks right with your photo. You’ll want to adjust the value carefully using the slider until there’s a thin but visible highlight around the edges of the image. Subtlety is key with sharpening. We found that a value of 2 worked well, since our image wasn’t too large.
Click OK once you’re happy to apply the effect.
4: Double-Click on the Blending Options Icon to the Right of the Filter in the Layers Window and Change the Mode to ‘Overlay’, ‘Soft Light’, ‘Hard Light’ or ‘Linear Light’
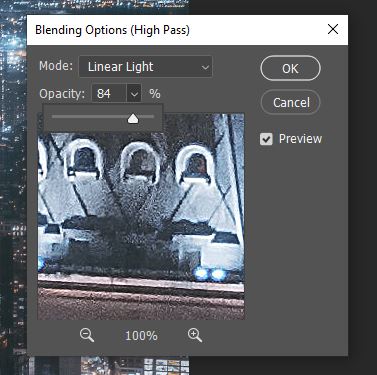
All there is to do now is change the Blend Mode of the filter so that we can achieve that sharpened effect. To do this, double-click on the ‘blending options’ icon, which is situated to the right of the filter in the Layers Window.
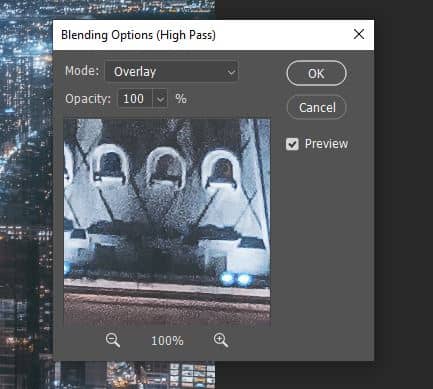
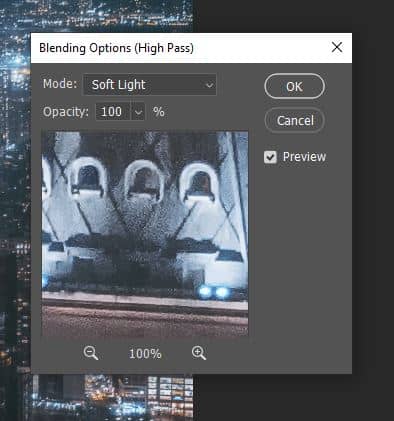
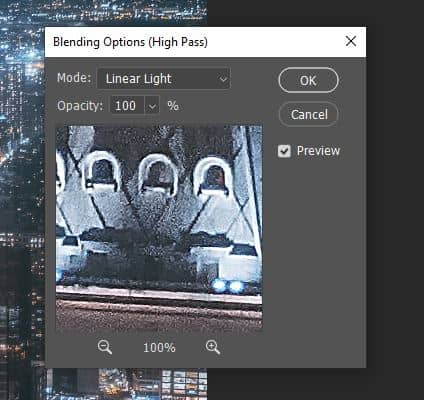
In the window that opens, experiment by changing the Blend Modes to the following, until you find the one that works the most effectively: ‘Overlay’, ‘Soft Light’, ‘Hard Light’, or ‘Linear Light’. You can set these within the ‘Mode’ dropdown at the top.
Overlay and Soft Light are the most used when it comes to creating this effect. The first yields a higher contrast (on the left) whilst the second results in a more subtle effect with less contrast (on the right). It’s difficult to tell the difference in these examples since the images are small and the effect is subtle, but you’ll probably be able to see it in your own version.
The other two Blend Modes that you could use are Hard Light (on the left) and Linear Light (on the right). They both offer a sharpening effect that is stronger than both of those mentioned previously, with Linear Light being the strongest and yielding an outcome with the highest contrast.
5: Adjust the Opacity of the Filter in the Same Dialog Box to Fine-Tune the Effect
In the Blending Options dialog box, you can also change the Opacity of the filter, allowing you to fine-tune the intensity of the effect. A lower opacity will result in a less harsh sharpening, whilst a higher value will result in one of a higher contrast.
And once you’re happy with this, you’re done! Like in the example below, you should be able to see that the edges are a lot more defined and the image appears to be sharper.
BONUS
And that’s about all there is to know about using the High Pass Filter! If you’re interested in finding out more about the process, then head to this video by Photoshop Training Channel that explains how you can use the filter to sharpen texture and details.
Or, if you want to explore other ways to sharpen images, then this longer video by Kelvin Designs is perfect for you and explains a variety of other methods by which you can do so.
- Or this video by Photoshop Café, that details three ways in which you can remove anything from a photo.
Hey, I'm a Professional Retoucher making $10k a month thanks to Photoshop.Register to my newsletter to get freelancing tips and a FREE Brush Pack in Bonus! My Newsletter


