
Despite Photoshop being mainly used for editing still images rather than time-based media, the programme offers great flexibility when exporting videos. Within the Render Video Window, Photoshop lets you customise the export settings of your videos in so many ways and provides you with the opportunity to save videos in a range of formats.
You can save a video in Photoshop as either a PSD (if you are still in the process of making edits to it) or a QuickTime / H.264 Movie (suitable for exporting complete videos). For animations, the same saving options are available.
In this article, we will explore the following:
Table of Contents
How to Save a Video That is Currently Being Edited
Just as you would do when working with still-image files, you should periodically save the file that you are editing in Photoshop. Doing so allows you to have a safety net in the case of the program crashing, which could otherwise cause you to lose all the edits you have made.
Saving incomplete videos as PSD files lets you preserve the edits, frames, and all the other properties of the Photoshop video file. So, if you are still editing the video and aren’t quite ready to render it, then save it in this format.
To save the file as a PSD, head along the top of the screen to File > Save As.

In the Save As Window that opens, type in a relevant file name and choose the location that you want to save the document to.

Then, click on the dropdown menu at the bottom of the dialog box to set the file format to PSD.
Once you’re done, simply click the Save button in the bottom-right corner to save the file!

You should now have created a file that can be opened again in Photoshop so that you can continue editing from the place that you left off, without losing any quality or any of the editing capabilities you previously had access to!
If you would like to, you can also open the file in other Adobe or video-editing applications- PSD files are highly compatible with lots of programs, and the format is supported by all pieces of Adobe video software.

How to Export a Complete Video
So, you’ve finished editing your video in Photoshop! How can you export it as a video that is playable in other applications?
Let’s jump right in!
1: Open the Render Video Window
To begin with, we’re going to open the Render Video Window, as this is the location in which all of the customisable video settings can be found.
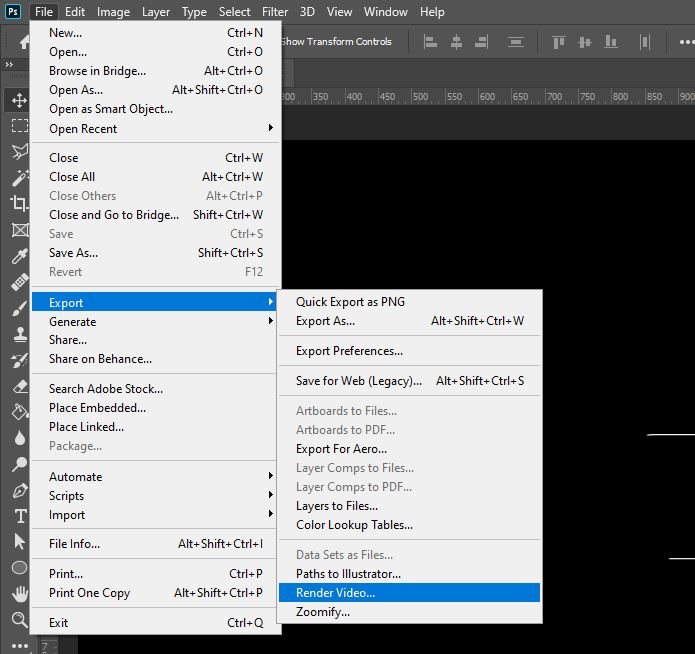
There are a few different ways you can do this. The simplest is to select File > Export > Render Video from the bar along the top of the screen.
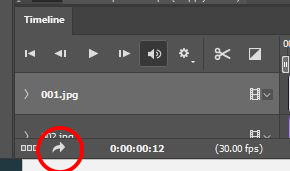
Alternatively, you can head over to the bottom-left corner of the Timeline Window (usually located at the bottom of the screen) and click on the small arrow icon, as shown below.
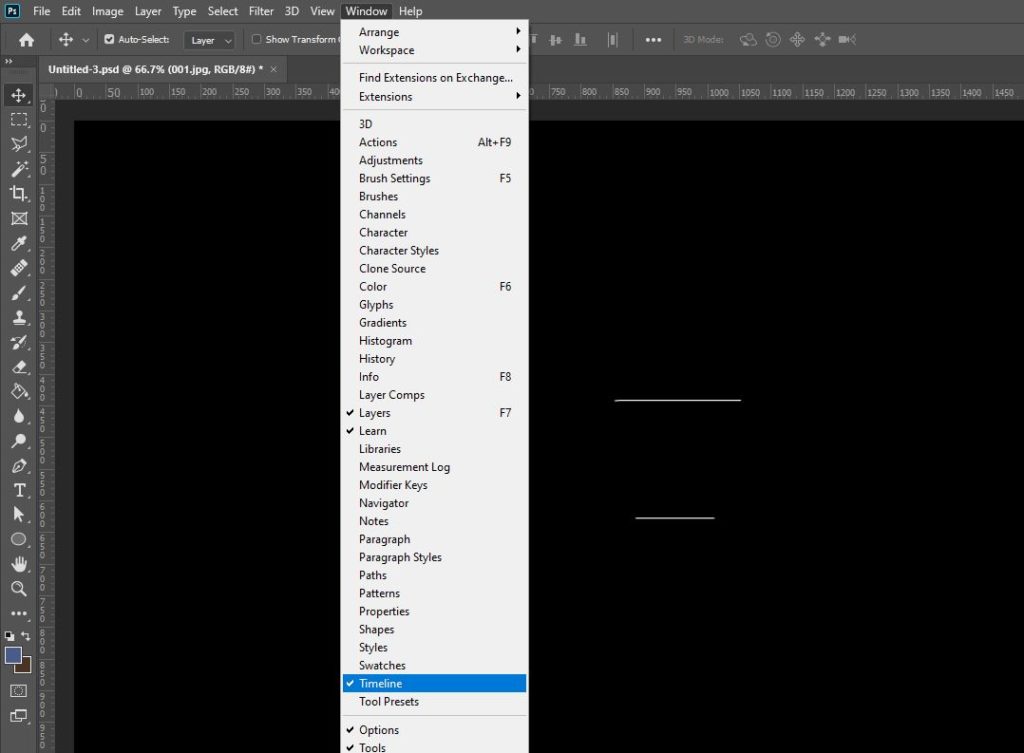
If you haven’t already opened the Timeline Window, you can do so by selecting Window > Timeline from the top of the screen.
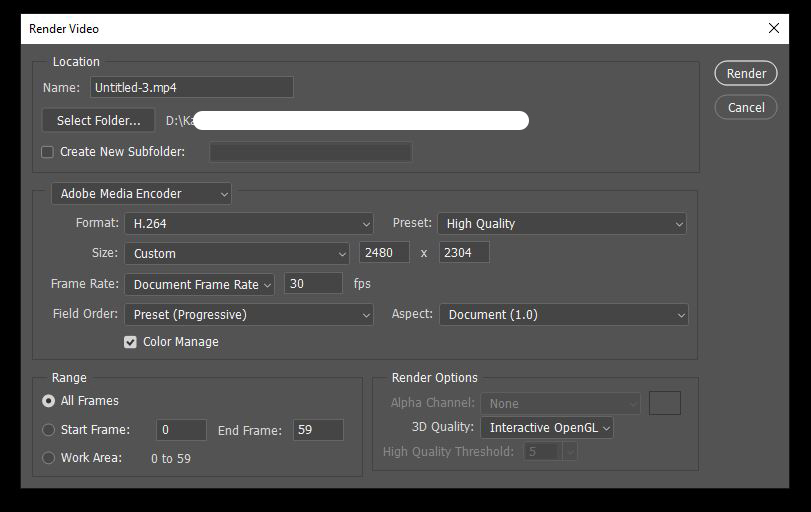
Using any of these routes should cause the Render Video Window to open. It should look something like the one depicted below.
2: Choose a Name and Location for Your File
Let’s start by drawing our attention to the options at the top of the window.
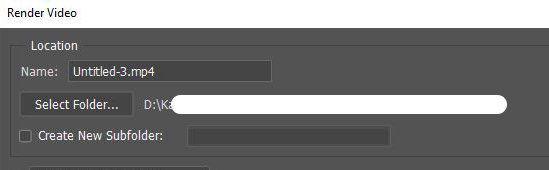
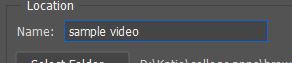
Here, you should notice a box where you can set the name for your file. To do this, click inside the box then type the name.
Beneath this, you’ll find a section dedicated to specifying the location in which you want to save your file. Click Select Folder to open a new window where you can click on the file location you want to select. Hit OK once you’re satisfied with the place you’ve selected (and make sure you remember where you have saved the file!)
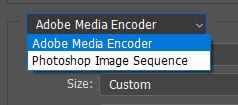
3: Choose Adobe Media Encoder as the Output Route
In the next section, there is the option to select the output type. Here, the best setting to choose is Adobe Media Encoder. The other option, Photoshop Image Sequence, will cause Photoshop to save the entire video as single frames in the form of JPEG images, which isn’t great for the purposes of saving as a video.
4: Edit the Other Export Settings
The following section contains lots of other export settings which can be changed to fit your preferences and the properties of the video you are exporting.
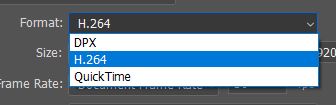
First is an option to set the format of your video. A good setting to choose is H.264, as this preserves the high quality of the video whilst offering good compression rates.
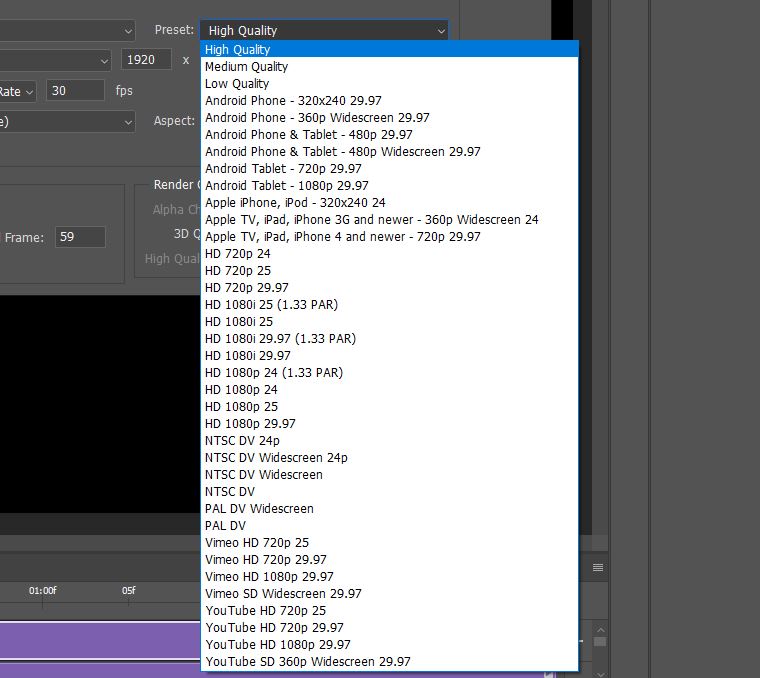
Next, under Preset select the option that best suits the type of video you are saving. The option ‘High Quality’ tends to work well, but you can always choose another from the dropdown menu, such as one of the presets that is tailored to streaming platforms such as Vimeo and YouTube.
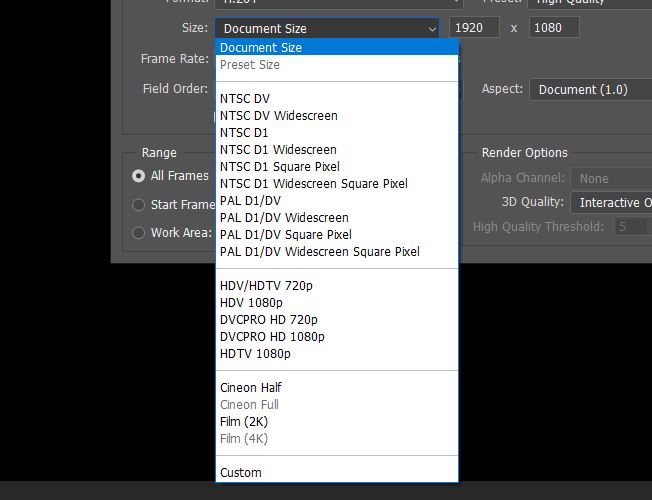
The next editable setting is Size. Changing this lets you set the dimensions of the exported video. If you wish to keep the same dimensions that the video had in the editable Photoshop file, then choose the option Document Size, which should be selected automatically.

Otherwise, you can choose any other option from the dropdown menu.
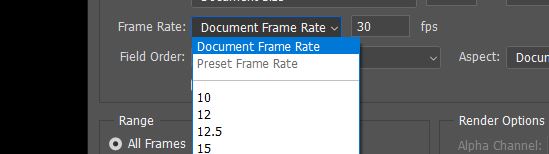
And the final option in this section lets you set the Frame Rate. We recommend just leaving it as it is, since this will be the frame rate that you have been working with in Photoshop. However, you can change it if you want to change the quality of the video.
5: Select a Range to Export
The section at the bottom of the window lets you select a certain section of the video to export. If you would like to export the whole thing, select All Frames.
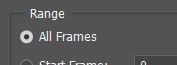
If, instead, you would prefer to export only a specific section of the video, then type in the Start Frame and the End Frame of the range that you want to export.

Then, once you are happy with all the settings you’ve specified, simply go ahead and click the Render button in the bottom-right corner of the window to export the video!

There you have it! Hopefully, you now know all about how you can export a video in Photoshop and about the opportunities you have to customise the settings with which it is saved. To learn more about exporting videos in Photoshop, check out this video by Jacob Rivkin.
Here are some of my favorite Photoshop tools:
Thank you for reading this article. I hope you found it helpful as you’re using Adobe Photoshop. Here are some tools that I use daily while retouching or editing that made my life easier. I hope you’ll also find them as useful as me. These are affiliate links, so if you do decide to purchase any of them, I’ll earn a commission.
But in all honesty, these are the exact tools that I use and recommend to everyone, even my closest friends and family.
Tablet: I remember purchasing my first tablet back in 2011. It was the smallest Wacom available at that time, I think it was an A5 format. Tablets make a huge difference with Photoshop and I can’t work without one nowadays. I recently switched to the amazing Xencelabs Medium Bundle and I just love it.
Quick Fixes: Whenever I need to edit pictures quickly, I use the AI-powered Luminar photo editing tool.
Content Creator Essentials: If you’re taking pictures, video footage, or any other types of media, I recommend you the Samsung T5 external SSD to safely backup and transport your files. Regarding my working station, since I’m always moving from one place to another, I’m using the ASUS ZenBook Pro Duo 15. Its second screen comes in really handy when working on Photoshop.

Hey, I’m a Professional Retoucher making $10k a month thanks to Photoshop.Register to my newsletter to get freelancing tips and a FREE Brush Pack in Bonus! My Newsletter

