
Editing text messages can be a great way to visually communicate creative storylines, to incorporate technology-inspired typography into your designs, or to simply have fun editing humorous conversations with your friends. And luckily, Photoshop allows you to edit text messages within seconds!
It is important to first note that this tutorial is not intended to support the falsification of digital communication-based records or to endorse the creation of counterfeit-proof.
So, with that said, what are the steps involved in Photoshopping text messages? Well, the process simply involves importing a screenshot of a texting conversation then using a selection tool with the Paint Bucket Tool to cover up the original message. With the original text concealed, all you need to do is use the font Helvetica Neue to type a new message over the filled area!
Here is an overview of the steps we will walk through:
Table of Contents
- 1: Take a Screenshot of Some Text Messages
- 2: Open the Screenshot in Photoshop
- 3: Use the Eyedropper Tool to Select the Color of the Text Bubble
- 4: Select the Area Containing the Message Using a Selection Tool
- 4: Use the Paint Bucket Tool to Fill the Selected Area
- 5: Type in a New Message with the Type Tool
So, let’s jump right in!
1: Take a Screenshot of Some Text Messages
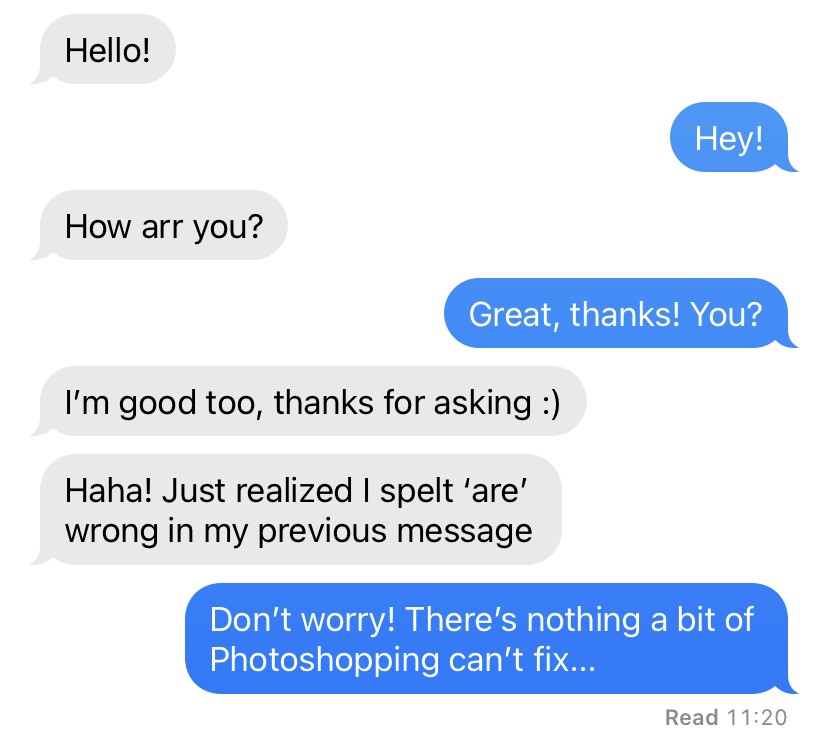
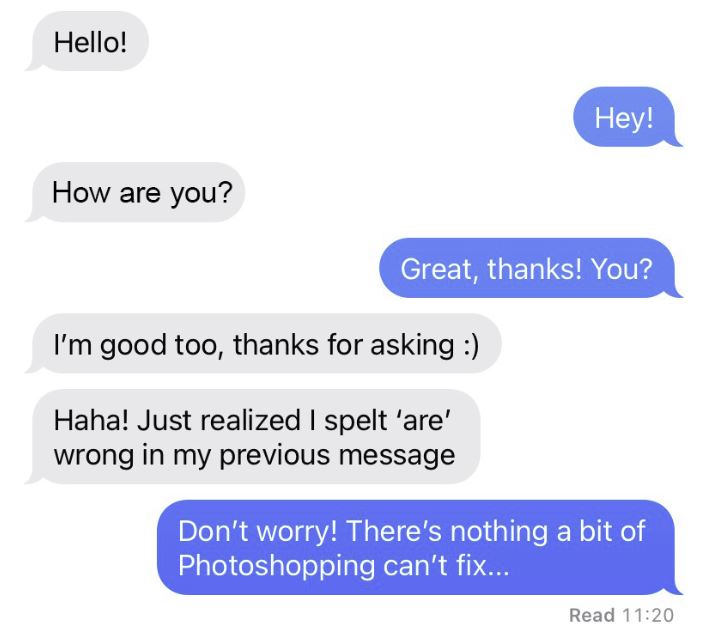
The first thing you need to do is take a screenshot of the interaction you want to edit a message in. For example, here is the screenshot we will be using:
For instructions on how to take a screenshot on any type of device, check out this article by PCMag.
2: Open the Screenshot in Photoshop
Now that you’ve taken a screenshot of the messages you would like to edit, you can go ahead and import the image into Photoshop! You can transfer the photo from your phone to a computer via email, or by uploading it to a program like OneDrive. If you want more information on transferring images from your phone to a computer, then take a look at these resources:
- iPhone to Windows PC: This article by iPhone Photography School
- iPhone to Mac: This page by Apple Support (this also has details for Windows users)
- Android to Windows PC: This page by Microsoft Support
- Android to Mac: This video by T-Mobile
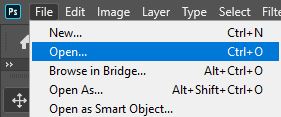
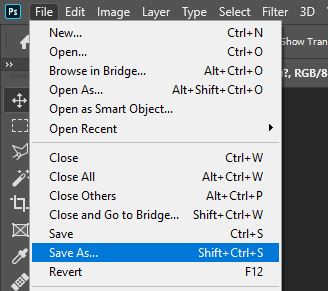
With the photo successfully transferred to your computer, let’s launch Photoshop. Once the program has loaded, you can head straight to the top of the screen and select File > Open.
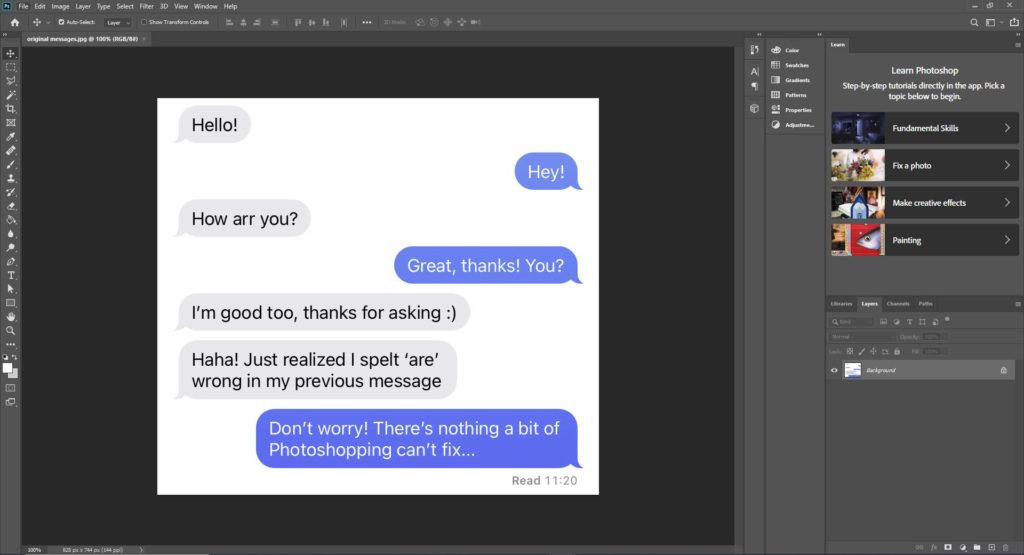
In the window that opens, find the image file of your screenshot and double-click on its thumbnail to open the file in Photoshop.

You should then see that it has been opened in the application!
3: Use the Eyedropper Tool to Select the Color of the Text Bubble
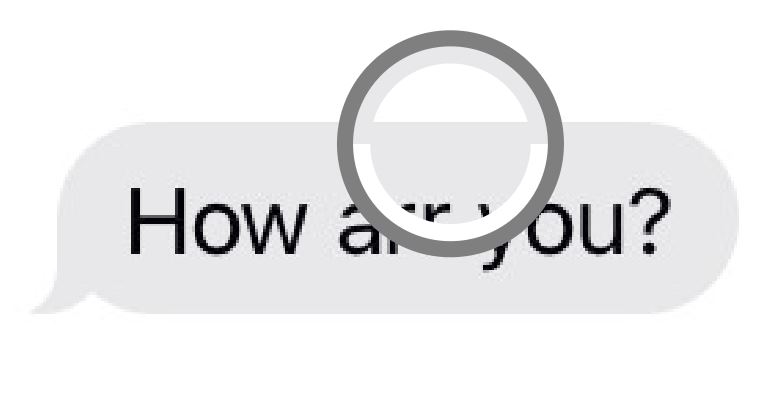
With the screenshot open within Photoshop, we can now start editing it! Locate the message you want to change, then head to the toolbar down the left side of the screen and select the Eyedropper Tool by clicking on the icon shown below. Alternatively, you can hit the ‘I’ button on your keyboard to make the tool active.

Now that the color-selecting tool has been made active, you can click anywhere within the document to choose a color from the image! In this case, we’re going to click on the colored bubble of the text message we want to edit.
The color of the text bubble should now be set as your foreground color, which can be seen at the bottom of the toolbar down the left of the screen.

4: Select the Area Containing the Message Using a Selection Tool
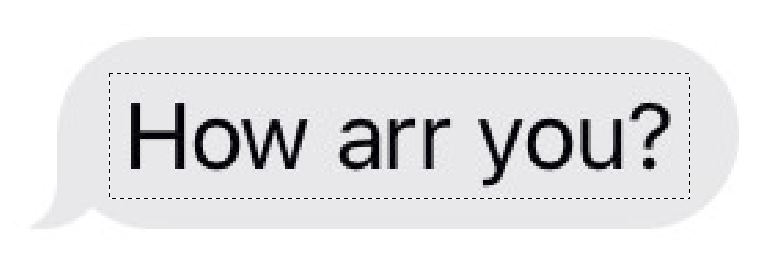
Next, we will use the color we previously selected to cover up the original text message in the bubble. To start this process, we’ll first want to select the area that contains the unwanted message. For this, we’d recommend using the Rectangular Marquee Tool. This can be selected by hitting the ‘M’ button on your keyboard or by clicking on the icon shown below in the toolbar.

With the tool selected, head over to the image and click and drag your mouse outwards to create a rectangle that surrounds the text you want to cover up. Ensure that the corners of the rectangular selection aren’t located outside the colored bubble, as this will cause issues later on.
You will notice that dotted white lines appear to mark the area that has been selected, as shown below.
4: Use the Paint Bucket Tool to Fill the Selected Area
After selecting the area that we want to cover, we can use the Paint Bucket Tool to fill the selection with the color we chose earlier using the Eyedropper Tool. But first, let’s create a new layer so that we’re not making direct, destructive edits to the original image.
You can make a new layer by clicking on the icon shown below at the bottom of the Layers Window.

To select the Paint Bucket Tool, hit the ‘G’ button on your keyboard, or click on the icon shown below down the left side of the screen.

Once you have made the Paint Bucket Tool active, all you need to do is click anywhere within the selection to fill it with the color we chose earlier!
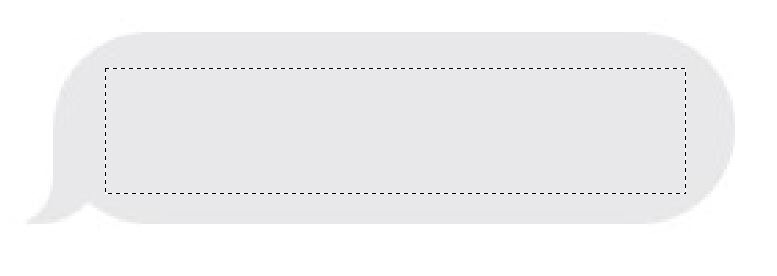
When you’ve done this, press Ctrl + D [Win] / Cmd + D [Mac] to deselect the area. And hopefully, you’ll see that the original text message is completely hidden!

5: Type in a New Message with the Type Tool
Now that we have covered up the original text message, we need to add the new one! Start by selecting the Type Tool from the toolbar down the screen’s left side by clicking on the icon shown below or hitting the ‘T’ button on your keyboard.

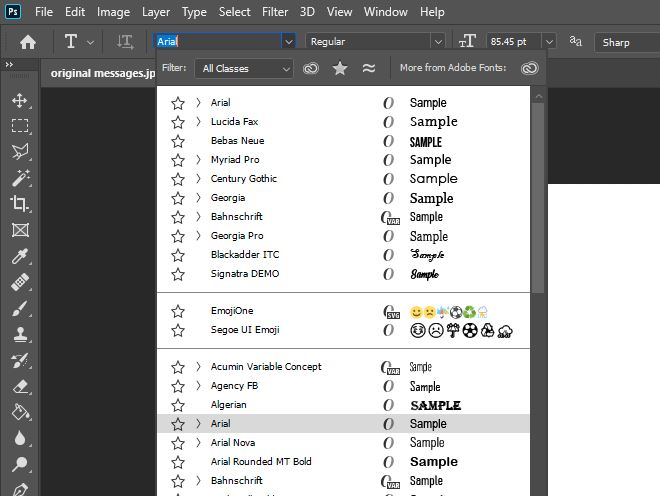
With the tool active, turn your attention to the top of the screen. Here, you should see that a new bar has appeared where you can edit the text’s properties. Set the font to Helvetica Neue [Mac] / Arial [Win] by selecting it from the dropdown menu.
If you have neither of these fonts on your computer or if the font used in the screenshotted messages is different, then Photoshop has a handy tool that identifies the closest matching font to the one in an image within seconds!
To find out how to use it, check out our article on how to identify, copy and match fonts in Photoshop.
Then simply click on the point within the image where you would like to add the text and type in the new text to replace the original one!
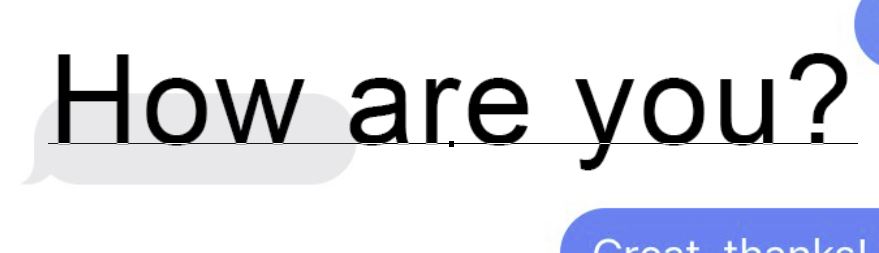
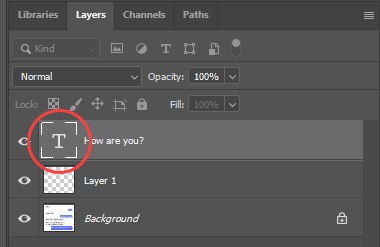
At this point, you will likely need to change the size of your text to match that of the other messages shown in the image. So, highlight the text by double-clicking on the thumbnail resembling the letter ‘T’ in the Layers Window.
Once the whole body of text has been highlighted, you can head back over to the top of the screen and change its size by typing a new value into the box or selecting one from the dropdown menu. A value of 17.5 pt worked well in our case, but the most suitable value for you will depend on your image’s size.
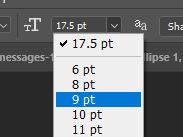
Keep experimenting with this value until you are happy with the size of the text! To move it into the right position, you can use the Move Tool, which can be selected by clicking on the icon shown below, found at the top of the toolbar. Alternatively, you can use the keyboard shortcut ‘V’.

And with that final step completed, you should be finished! Hopefully, you have now created an awesome effect that is so realistic that nobody can tell the image has been edited!
All that is left to do is to head to File > Save As to save the image as a JPEG ready to use for whatever purpose.
Want to learn more about editing text messages in Photoshop? Then take a look at this video by Matthew Gauthier, which explains how to use Photoshop to create the shape of a text message bubble!

Hey, I'm a Professional Retoucher making $10k a month thanks to Photoshop.Register to my newsletter to get freelancing tips and a FREE Brush Pack in Bonus! My Newsletter

