
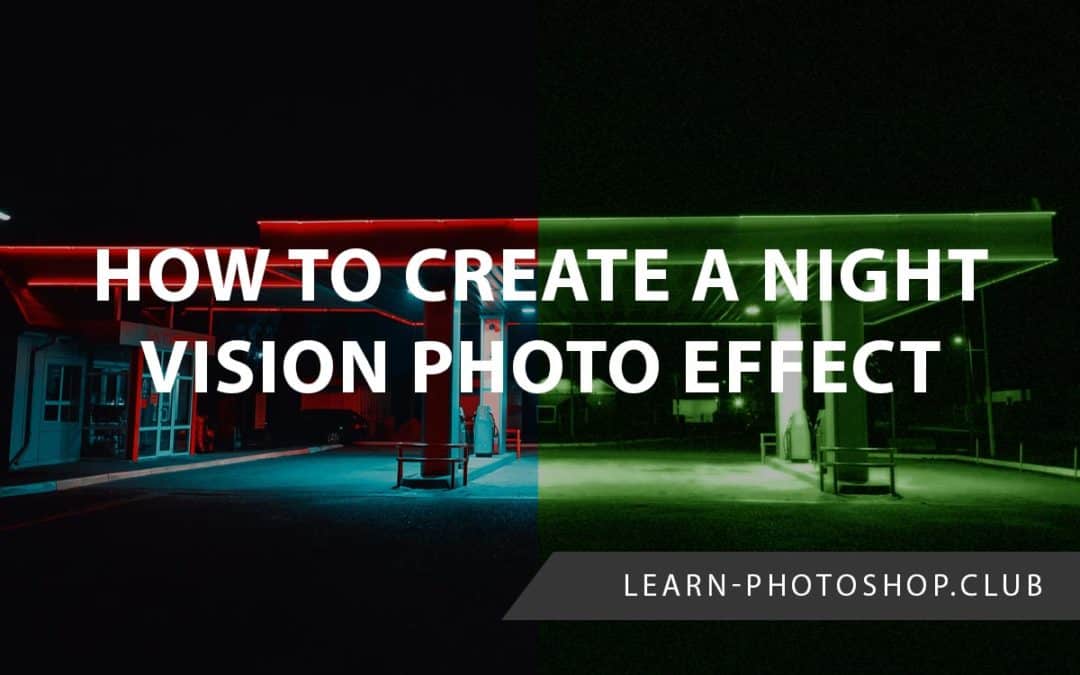
Although it’s not the most common design trend, adding a night-vision effect can totally change the mood of your image and in some cases, give the exact mood to your creation you were looking for. Luckily, it couldn’t be easier to do!
To quickly resume, in order to create a night-vision effect in Photoshop, we’re going to first turn our image into a black and white visual and then add this green look with a Channel Mixer adjustment layer.
Before we begin, if you would like to practice the techniques discussed in this tutorial but you don’t have an image to use, then why not try a photo from one of the websites on this list that we’ve compiled of 25 free high-quality stock image sources.
When you’re ready, let’s get started!
1: Go to File > Open to Open Your Image in Photoshop
As always, let’s begin by opening Photoshop and heading straight to File > Open.

Here, you can choose the image from your files that you want to open. To achieve the best results with this effect, it’s probably best to use an image taken at night-time, or in an equally dark setting. Small amounts of light are fine, but the mid-tones of your photo shouldn’t be too bright. We used an image by Artem Saranin from Pexels.

2: Right Click on the Background (Image) Layer in the Layers Window and Choose Convert to Smart Object
Before we apply any adjustments, we’re going to convert our image layer into a smart object, giving us the ability to work non-destructively and the option to replace the base image later on, allowing us to quickly apply the effect to a variety of photos.
So, head over to the Layers Window (which, by default, will be located at the bottom right of your screen) and right-click on the image layer.

3: Add a Black and White Adjustment Layer to Completely Desaturate the Image
To add the green tints, you’ll have to first strip the image of its color, so that none of the other colors interact with the green. To do this, you can add a black and white adjustment layer, which will automatically desaturate the image.
Focusing again on the Layers Window, draw your attention to the icons along the bottom. You’ll want to click on the Adjustment Layer icon, which is in the middle of the row and appears as a half-filled circle.
Clicking on this will cause a list to pop-up, from which we’ll choose Black & White.

You should now see that we’ve non-destructively desaturated the image.

4: Add a ‘Channel Mixer’ Adjustment Layer with the Output Channel Set to Green and the Greens set to 120%
Just as we did to add the first adjustment layer, let’s click on the middle icon at the bottom of the Layers Window, but this time selecting Channel Mixer from the list that comes up.

In the dialog box that opens, input the following settings:
- Output Channel: Green
- Green: 120% (although this value can be altered slightly depending on your preferences).

At this point, your image should look something like this:

5: Add a ‘Color Balance’ Adjustment Layer and Input the Settings Below in the Dialog Box
And for the final adjustment layer, we’ll add one that determines the color balance. Again, click on the ‘New Adjustment Layer’ icon at the bottom of the Layers Window, and select Color Balance from the list that appears.

In the dialog box that opens, input the following settings, or a variation of them, then click OK.
- Tone: Midtones
- Magenta – Green Slider: +90
- Yellow – Blue Slider: -50


6: Click on the Photo Layer Then Head to Filter > Blur > Gaussian Blur, and Add a Blur of 1 Pixel
Next, we’re going to blur the image slightly, to mimic the image quality produced with night-vision goggles. Before we add the blur, its important that we make sure the image layer is active (in other words, it’s the highlighted layer in the Layers Window, like below).

If it’s not the active layer, then simply click on it once.
Then, select Filter > Blur > Gaussian Blur from the top of the screen.

In the window that opens, set the Radius to 1 pixel, then click OK.

7: Select Filter > Filter Gallery > Texture > Grain and Input the Settings Below
Now that we’ve achieved the slight blur, we can focus on creating the grain that is present in the shadows of an image with a night-vision effect. To create the basis of this effect, let’s head along the top of the screen to Filter > Filter Gallery.

In the Filter Gallery Window that opens, click on the Texture heading, then choose the Grain option.

At the right of the window, an options tab will open, where you can set the characteristics of the effect. Appy the following settings:
- Intensity: 30
- Contrast: 50
- Grain Type: Clumped

When you’re happy, click OK to close the window and apply the effect.
8: Go to Filter > Filter Gallery > Distort > Diffuse Glow and Apply the Following Settings for a nice night-vision effect
To finish creating the grain in the shadows, we’ll add another filter. Just as we did before, head along the top of the screen to Filter > Filter Gallery.

In the window that’s opened, choose Distort > Diffuse Glow and input the following values using the respective sliders:

- Graininess: 0
- Glow Amount: 10
- Clear Amount: 12


BONUS
Want to find out more about how to create the effect in Photoshop? Check out this video by Safii Clon that demonstrates a similar technique, or this video by Blue Lightning TV Photoshop that provides an in-depth explanation of the process.
Hey, I'm a Professional Retoucher making $10k a month thanks to Photoshop.Register to my newsletter to get freelancing tips and a FREE Brush Pack in Bonus! My Newsletter

