
If you’re like me, you edit a lot of portraits in Photoshop and some of your customers sometimes ask to change the color of their eyes. Today, I’m going to explain to you how you can use Photoshop to do just that.
Whilst this process tends to yield better results when used to make minor adjustments to the eye color, you can try making more significant adjustments to see how it turns out! What’s great about this method is how quick and non-destructive it is, and the high level to which it produces a realistic effect.
We’ll see two different methods to change the color of eyes with Photoshop. The first one will use a curves adjustment layer and the second one a hue and saturation adjustment layer.
Use curves to change the color of eyes
Step-by-step overview:
- Add a curves adjustment layer on top of your eye image
- Invert its layer mask to make it all black
- With your layer mask selected, paint with white on your eye
- Adjust your curves setting to your liking. You can also change individual channel like Red, Green or Blue.
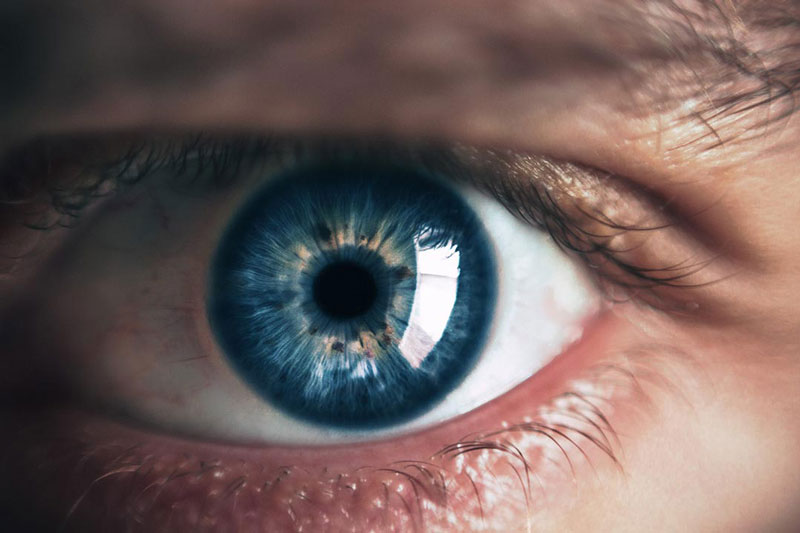
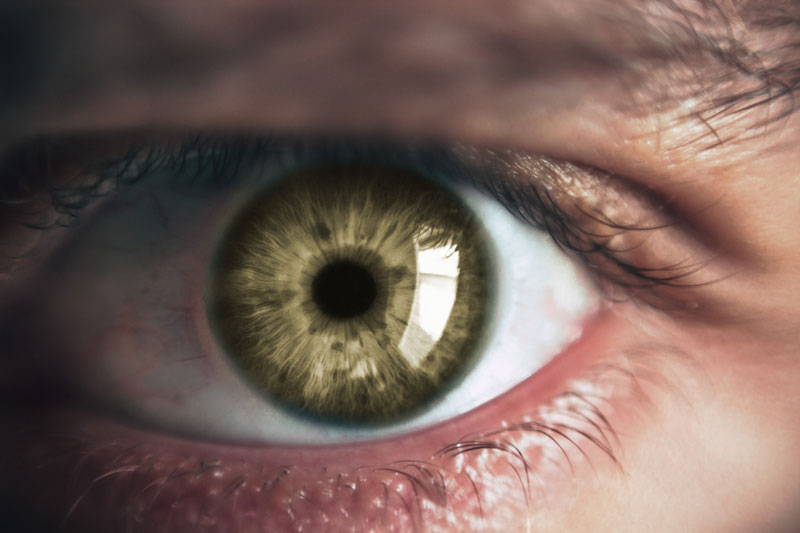
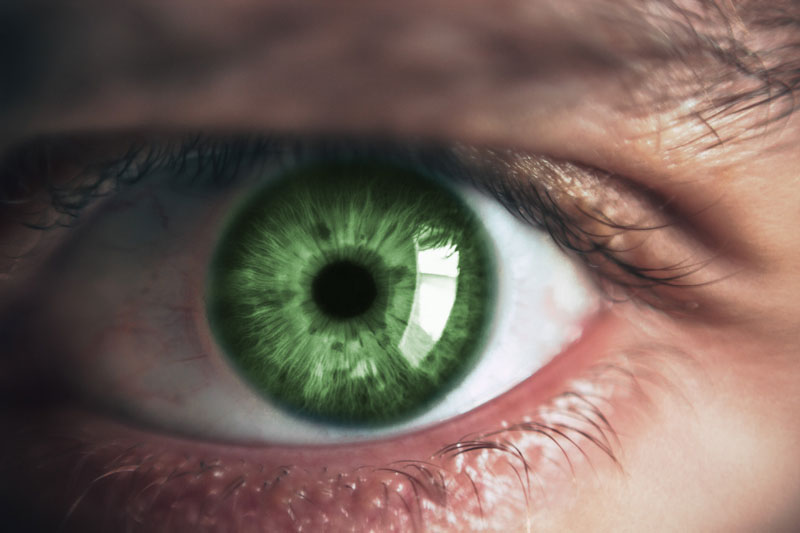
With Photoshop open, obviously the first thing you’ll want to do is open an image that shows the subject’s eyes clearly. This could be of an animal or a human. For instance, in this tutorial, we used this photo by Victor Freitas from Pexels and (for the other example shown in the banner) a photo by Subin from Pexels.
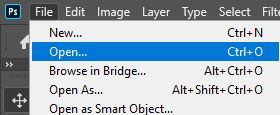
To open your image, head along the top of the screen to File > Open and choose the relevant image from your files.
We’ll next want to sort out our layer masks. These are an important feature of Photoshop as, when combined with adjustment layers, they allow us to make adjustments to only certain parts of an image, which we determine.
So, to make this process easier, we’ll begin by making a temporary drastic adjustment just so that we can see more clearly which areas we’ll need to make visible with the layer mask.
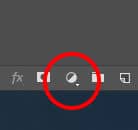
Let’s add a new curves adjustment layer by clicking on the Adjustment Layer icon at the bottom of the Layers Window (as shown below). From the menu that then appears, choose Curves.
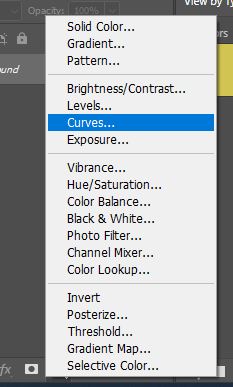
Alternatively, you could head along the top of the screen to Layer > New Adjustment Layer > Curves.
Now that we have our adjustment layer, we can go ahead and make a far too drastic adjustment. Let’s drag the curve all the way to the top left, or, really, wherever you want as long as it makes a major adjustment.
It will help us to better create or layer mask.
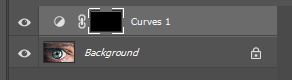
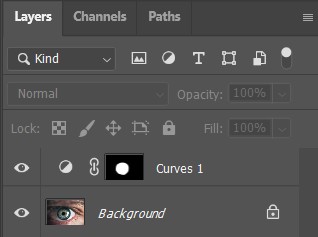
On an adjustment layer, the default layer mask is indicated next to its name in the Layers Window by a white rectangle. Click on this to highlight it, and press Ctrl + I [Win] / Cmd + I [Mac] to invert it.
This should make the rectangle now appear black, indicating that the mask is now making the effect of the adjustment layer temporarily invisible.
When working with layer masks, black makes areas invisible, and white makes areas visible. So, as we want whatever adjustment we make to only show up on the eyes, we’ll want the layer mask to be black everywhere other than the eyes, which we’ll want to paint white.
So, from the toolbar down the left side of your screen, choose the Brush Tool, as shown below or use the default shortcut B
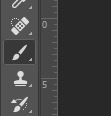
This should open up a menu along the top, where you should set the Hardness to 100%, set the Opacity to 100%, choose a round brush, and set the Color to white.

You can change the size of the brush using the square brackets – [ and ] – to make it smaller or bigger, respectively.
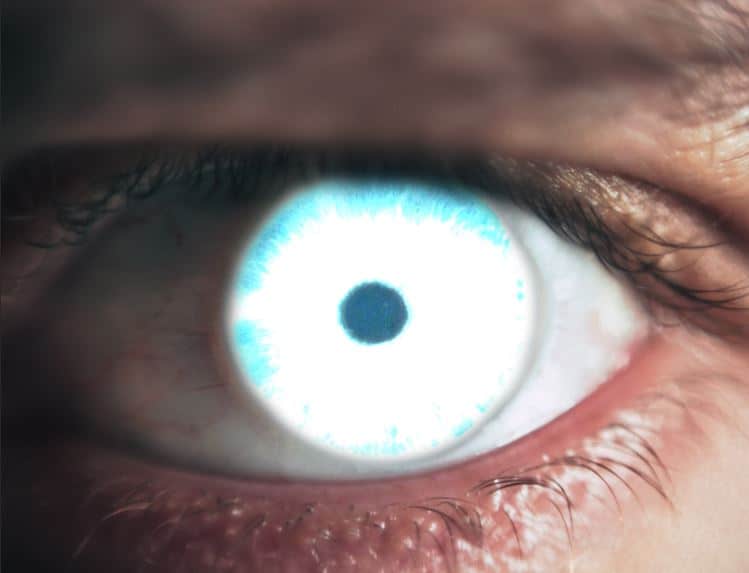
Now simply paint over the eyes using a white brush, switching to a black brush to make any areas invisible again if you’ve accidentally painted over an area that doesn’t cover the eyes.
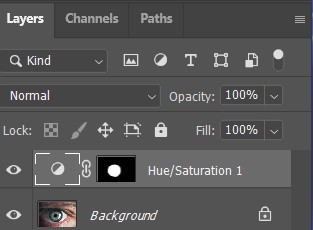
Here’s how your layer panel should look like with the resulting image.
Related Guides:
– How to Move And Copy Layer Masks
– Channels vs. Layers in Photoshop: What’s the Difference?
You should notice that, at this point, we have a mask that makes the adjustments visible on only the eyes but contains rather harsh edges. This would result in us having an unrealistic effect when we go to change the color of the eyes.
We can blur or soften the edges of our mask by double-clicking on the layer mask of our adjustment layer (shown by the rectangle in the Layers Window). This will open the Properties Window. Here, adjust the feather slider to soften the edges of the mask until you’re satisfied.
With our layer mask sorted, we can now reset the curve to undo the drastic adjustments that we made to the image. So, let’s click on the Adjustments Icon on the Adjustment Layer in the Layers Window (as shown below).
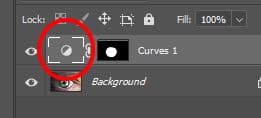
This will open up the Curves Window, in which you’ll want to click the curved arrow icon at the bottom of the panel to reset the curve, restoring the image’s unedited state.

One of the best ways to change colors in a realistic way within Photoshop is to use the Color Channels in the Curves Window. What’s great about them is that they allow us to only adjust the primary colors, maintaining the integrity of the original color and allowing for a realistic affect.
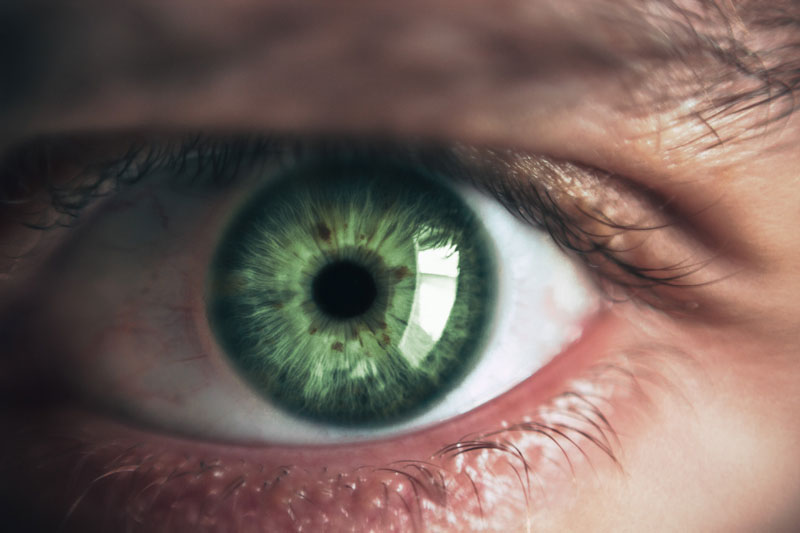
These can be selected from the Curves Window, which should be already open from the previous step. So, in the window, choose the RGB dropdown from the top of the panel, and select any of the colors that appear. In our case, we chose Green first.
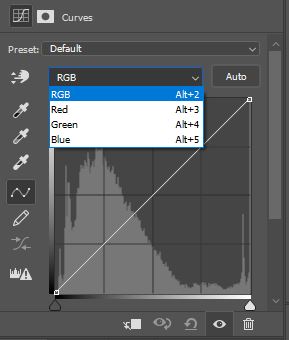
Then just play around making subtle adjustments to each of the color channels to see how it affects the color of the eyes. To change the color channel that you’re working on, head to the RGB dropdown again and select a different color from the list.
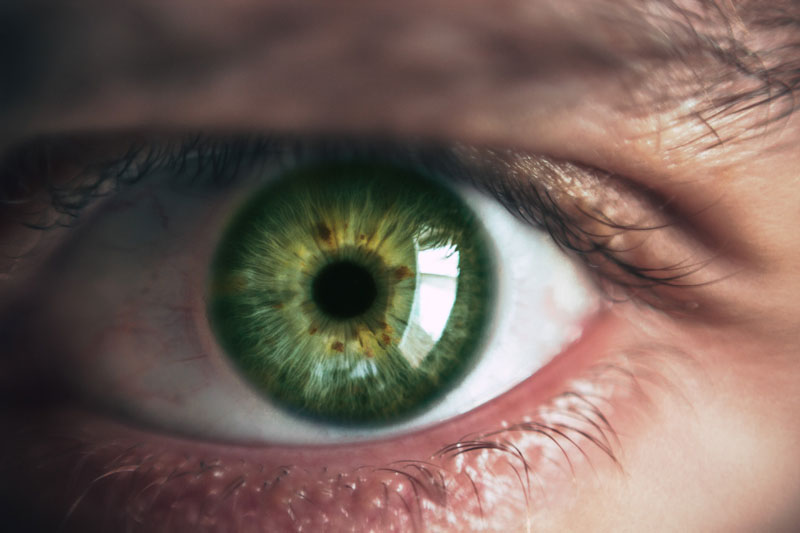
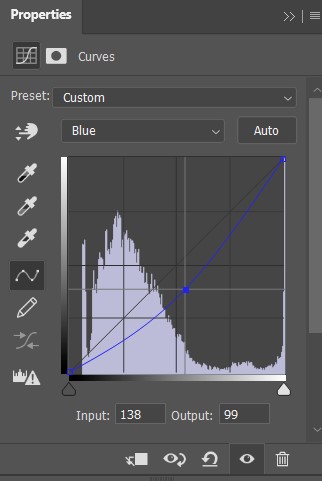
To change its color to green I simply decreased the Blue channel.
Use a Hue & Saturation adjustment layer
Step-by-step overview:
- Add a hue/saturation adjustment layer on top of your eye image.
- Invert its layer mask to make it all black.
- With your layer mask selected, paint with white on your eye.
- Double click on your hue/saturation layer and check the “colorize” option.
- Adjust the hue slider to your liking.
- Double click on your hue/saturation adjustment layer. In your Layer Style window, adjust the “blend if” slider to improve the effect.
Another technique constists in doing the exact same but using a Hue & Saturation adjustment layer instead.
Keep in mind that this technique results in less likely results.
In the hue/saturation layer settings, you want to check the “colorize” option.
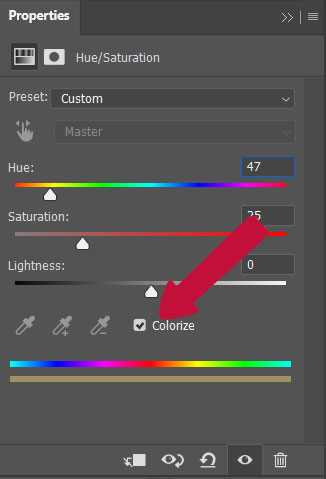
Colorize will simply change all the hue values of the affected pixels to the value you set by moving the “Hue” slider. This is why the effected result isn’t that great.
Indeed, you will always find different variation of colors and hue in an eye. It will never be completely green or blue.
Once I clicked the colorized option, here’s the result I get:
And if I want to have a green eye like before, I will simply move the hue slider in the green tones like here:
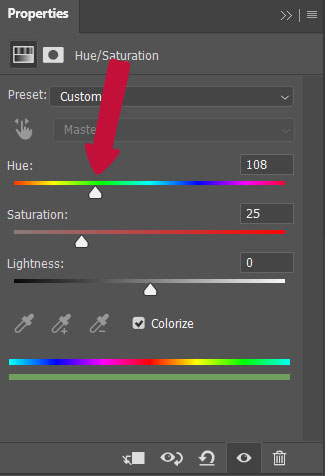
With the following setting, here’s the image I get. You can clearly see that the effect is fake. It almost look like an alien.
To improve the effect, we can double click on the hue/saturation layer. It will open the Layer Style option window.
Related Guides:
– How to Remove Red Eyes in Photoshop
We want to use the Blend If option to apply the effect only on brighter tones. Therefore, we’ll drag the slider from the black area to the white. In this case, we use the “underlying layer” option.
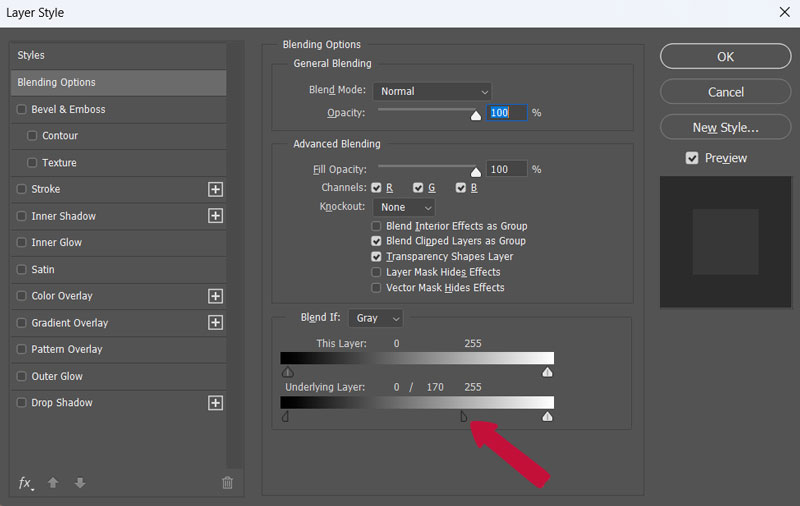
Using the blend if option allow us to retain the tones in the darker area while applying the hue/staruation layer effect only to the brighter pixels.
BONUS Video tutorial
Depending on the result you’re looking for you’ll use one or the other technique. If you’re still looking for explanation, check out this video that details how to change the eye color using Hue / Saturation Adjustment Layers.
Hey, I'm a Professional Retoucher making $10k a month thanks to Photoshop.Register to my newsletter to get freelancing tips and a FREE Brush Pack in Bonus! My Newsletter

