
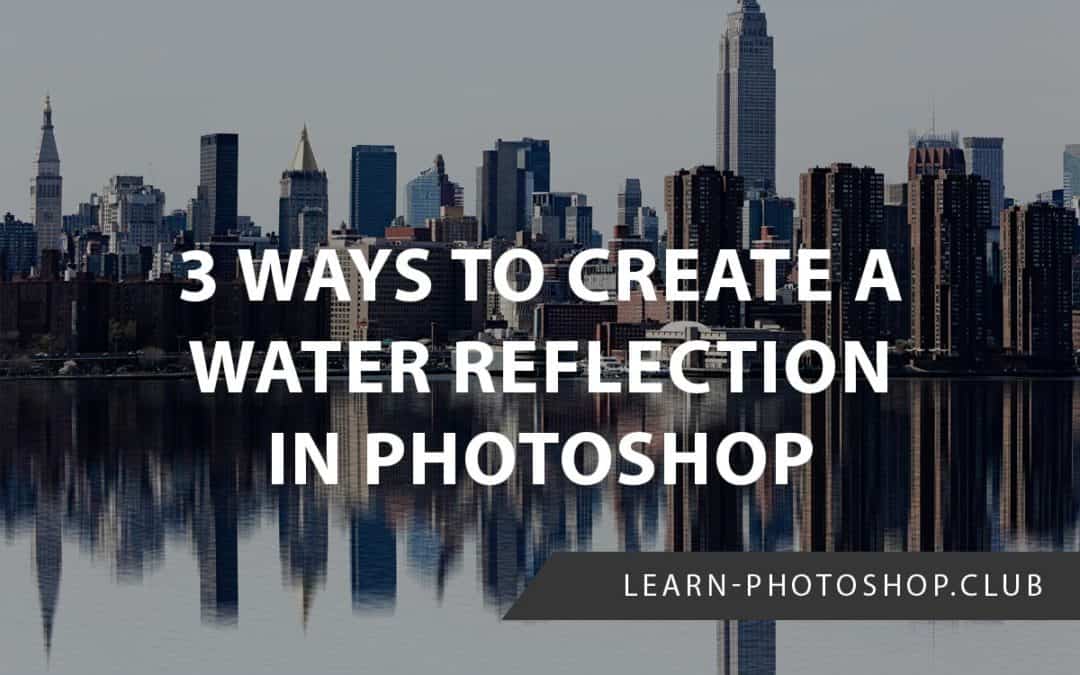
Creating a water reflection from scratch is something that we get asked about a lot here at Learn Photoshop. You can easily transform what seems like a boring image into an eye-catching landscape by simply using a few Photoshop tricks!
If you want to practice adding water reflections to a photograph but you don’t have any photos of your own, then check out some of the sites on our list of 25 high-quality stock resources – for free.
This tutorial will walk you through three different but fairly similar methods, increasing in length of time and extent of detail.
METHOD ONE: A Vertical Motion Blur To Create A Reflection Effect
Final Result:

1: Open Your Image in Photoshop by Heading to File > Open
Obviously the first thing we’ll want to do is open the photo to which we will add the effect in Photoshop. To do this, load the program, then head to File > Open and choose the relevant image from your files.
For this tutorial, we used a photo by Life Of Pix from Pexels.

2: Go to Image > Canvas Size and Double the Height of the Document, Using the Top as an Anchor Point
Now that we have the image open, we’ll need to create space to add the reflection. To do this, we’ll choose Image > Canvas Size from the top of the screen.

Doing so will open a new window, in which we’ll double the height of the canvas. This extra space will host our reflection. Make sure to choose the top as an anchor point. Click OK.

Your canvas should now look like the one above.
3: Duplicate the Image Layer and Call the Newly Duplicated One ‘Reflection’’
Now that we have an area that will facilitate the reflection, we can start creating the effect. So, let’s begin by duplicating the layer containing the original photo. This can be done by right-clicking on it in the Layers Window and choosing ‘Duplicate Layer’ from the list that appears, or via the keyboard shortcuts (Ctrl + J [Win] / Cmd + J [Mac]).

4: Flip the Duplicated Layer Vertically and Move it Into the Empty Gap on the Canvas
To make it look like a reflection, we’ll now need to flip the layer vertically. So, head to Edit > Transform > Flip Vertical to reflect the image.

We’ll then move it into the extra space we created on the canvas by choosing the Move Tool from the top of the toolbar at the left side of the screen and dragging the flipped layer to the bottom of the document.
5: Go to Filter > Blur > Motion Blur to Create a nice Water Reflection Effect
So, we now have some level of reflection, but to make it more realistic, we can add a vertical motion blur to the reflected layer, to mimic the way that a reflection would act in real life.
To do this, go along the top of the screen to Filter > Blur > Motion Blur.

Clicking this will open a window, in which you’ll want to set the Angle to 90 degrees, and the Distance to around 150 pixels. You can experiment with this though, as the appropriate value is likely to vary depending on what image you’re using.

If like me, you’ve ended up with a transparent bar across the gap between the original image and the reflected one, then you can just hit Ctrl + T [Win] / Cmd + T [Mac] and stretch the reflected image vertically to make it fill up the gap.
You should end up with an effect like this:
And that’s all there is to creating our most basic reflection in Photoshop! If you’re short for time or you’re satisfied with this style, then you can stop here. But there are some ways in which we can take the method further still, by adding effects that will make the reflection more ‘water-like’.
METHOD TWO: Adding Blurred Noise to Create Subtle Ripples
Final Result:

The first five steps of this method consist of the first method from start to finish. So, if you’ve already read or completed the first method, then you can skip to the sixth step and carry on from there.
1: Repeat all steps from Method 1
We will start where we ended with Method 1 and add subtle ripples to the water reflection effect.
2: Create a New White Layer and Move it to be Situated Between the Original Layer and the Reflection Layer
To take the effect further, we’ll now begin to simulate water ripples. So, let’s start by creating a new layer. This can be done by clicking the icon shown below, at the bottom of the Layers Window.

Alternatively, you could go to Layer > New > Layer.

Upon creating a new layer in Photoshop, the layer will automatically be transparent. We want its contents to be white, so we’ll have to fill it.
From the toolbar at the left of the screen, choose the Fill / Paint Bucket Tool.

As we want to fill the layer white, we’ll need to set the Foreground Color as white. You can do this quickly by clicking on the top square of the icon shown below and setting it as white.

Then just click anywhere on the document with the Paint Bucket Tool to fill it with white.

3: Go to Filter > Noise > Add Noise and Set the Amount to 400% and the Distribution to ‘Gaussian’, Checking ‘Monochromatic’
Now that we have our plain white layer, we can start adding noise to it. From along the top of the screen, select Filter > Noise > Add Noise.

This will open an effects window for the noise, in which you can set values that determine its appearance. Set the Amount to 400%, the Distribution to ‘Gaussian’ and tick the Monochromatic Checkbox.

Click OK when you’re done.
4: Select Filter > Blur > Motion Blur and Set the Angle to 0 Degrees and the Distance to 40 Pixels
Adding noise was the first step to making our water ripple effect, but we’ve got a few more steps to go until we can start to see the effect take shape.
An important part of this effect is adding a Motion Blur. So, with the grain layer selected, choose Filter > Blur > Motion Blur.
In the window that opens, set the angle to 0 degrees and the Distance to around 100 pixels. Feel free to experiment with this, as the best values will vary depending on your image and your preferences.

Click OK to apply the blur.
5: Choose Edit > Transform > Perspective to Set the Perspective by Dragging Out a Bottom Corner and Dragging in a Top One
So, at this point, we’ve got an effect that looks a bit more like ripples. But for it to convincingly sit over the surface of the water, we’ll want to set its perspective to match that of the ‘water’.
We can do this quite simply by going to Edit > Transform > Perspective.

This will create handles around the layer. Drag either of the bottom corners outwards, and drag either of the top corners inwards, until the perspective is like the one shown below:

Hit the Enter key on your keyboard once you’re happy.
6: Head to Filter > Blur > Gaussian Blur and Add a Blur of Radius 3 Pixels
Just to tone down the effect slightly, let’s add a Gaussian Blur.
Choose Filter > Blur > Gaussian Blur, and in the window that appears, set the radius to 3.

7: Set the Layer Opacity to 30% and the Blend Mode to Soft Light, Then Reposition the Layer so That it Sits Over the Reflection
To incorporate the water surface texture into the reflection, we’ll lower its opacity and change its Blend Mode.
So, lower the opacity by clicking on the grain layer to make it active and using the Opacity Slider at the top of the Layers Window to set it to 30%.

The Blend Mode can also be changed at the top of the Layers Window. Click on the arrow at the end of the dropdown menu circled in the image below, and then select Soft Light from the list that comes up. I actually then increased the opacity back to 100% as the effect wasn’t really visible enough otherwise, but you can experiment with this.

Once you’ve done that, all there really is to do is to reposition the grain layer just to make sure that it sits properly over the reflection. And then you’re done!
METHOD 3: Using the Bas Relief Filter for More Defined Ripples
Final Result:

The first five steps of this method consist of the first method from start to finish. So, if you’ve already read or completed the first method, then you can skip to the sixth step and carry on from there.
1: Repeat steps 1-3 from Method 2
In order to follow the third method, you’ll have to repeat steps one to three from Method 2.
2: Select Filter > Filter Gallery > Sketch > Bas Relief, and Set the Detail to 13 and the Smoothness to 3
We’ll now add a sketch filter to fundamentally create our ripple effect. Head to Filter > Filter Gallery > Sketch > Bas Relief.

In the window that appears, set the Detail to 13 and the Smoothness to 3. Click OK when you’re ready.

3: Choose Filter > Blur > Motion Blur and Set the Distance to 36 and the Angle to -3
Once again, we’ll add a motion blur to the layer, by going to Filter > Blur > Motion Blur.
In the options window that appears, set the Distance to be 36 and the Angle to be -3 degrees.

4: Choose Edit > Transform > Perspective to Set the Perspective by Dragging Out a Bottom Corner and Dragging in a Top One
So, at this point, we’ve got an effect that looks a bit more like ripples. But for it to convincingly sit over the surface of the water, we’ll want to set its perspective to match that of the ‘water’.
We can do this quite simply by going to Edit > Transform > Perspective.

This will create handles around the layer. Drag either of the bottom corners outwards, and drag either of the top corners inwards, until the perspective is like the one shown below:

Hit the Enter key on your keyboard once you’re happy.
Once you’ve edited the perspective, all there is to do is to change the Blend Mode to Overlay, and the Opacity to whatever you think looks the best- I found around 70% to be good.

The outcome should look something like this:
BONUS
And there you have it! Three slightly different methods that you can use to easily create a convincing water reflection in Photoshop.
Want to find out more about how to create a water reflection in Photoshop? Then check out this video by ‘Blue Lightning TV Photoshop’ that explains a similar process to the one discussed in this article.

Hey, I’m a Professional Retoucher making $10k a month thanks to Photoshop.Register to my newsletter to get freelancing tips and a FREE Brush Pack in Bonus! My Newsletter

